Key Takeaways
- An A-frame greenhouse is cost-effective, easy to build, and heats up quickly.
- Choosing a level location with good sunlight is crucial for optimal plant growth.
- Essential materials include metal fencing for the foundation, cedar wood, rigid plastic, and poly sheeting.
- Building tall beds inside the greenhouse can make gardening easier on your back.
- Regular maintenance and seasonal adjustments will keep your greenhouse in top condition.
Building Your A-Frame Greenhouse
Imagine walking into your very own A-frame greenhouse, brimming with lush plants, on a crisp early morning. The sense of achievement is almost as warming as the sunbeams filtering through the clear poly walls. I’m here to guide you through creating this sanctuary in your backyard. An A-frame greenhouse is not just a structure, it’s a year-round growing space that extends the gardening season, maximizes warmth, and protects your plants. Let’s embark on this journey together.
Choosing the Ideal Location for Your A-Frame Greenhouse
First things first, selecting the right spot for your greenhouse is paramount. You’ll want to find a level area that gets plenty of sunlight throughout the day. Remember, the more sun your greenhouse receives, the less you’ll need to worry about additional heating sources. Besides that, consider the proximity to water sources and the direction of prevailing winds. A sheltered spot can prevent damage during those gusty days. The location will set the stage for your entire greenhouse experience, so choose wisely.
Gathering Materials: What You Need to Get Started
Now, let’s talk materials. You don’t need a truckload of expensive supplies to start your A-frame greenhouse. Most importantly, focus on quality materials that will stand the test of time. Here’s what you’ll need:
- Metal plate fencing: It’s a sturdy option for the foundation and won’t rot like wood.
- Cedar wood: It’s naturally rot-resistant and perfect for framing.
- Rigid plastic or clear poly sheeting: This will be your greenhouse ‘skin’.
- Gable caps, vents, and pea gravel: These are the finishing touches for functionality and drainage.
Remember, the goal is to minimize new purchases and repurpose materials when possible. Being resourceful not only saves money but also adds a unique touch to your greenhouse.
Customizing Your Greenhouse
After the bones of your A-frame greenhouse are in place, it’s time to infuse it with character and practicality. Customizing your greenhouse can turn a simple structure into a highly productive and enjoyable space. Let’s explore how you can tailor this space to fit your gardening needs perfectly.
Maximizing Space with Clever Interior Layouts
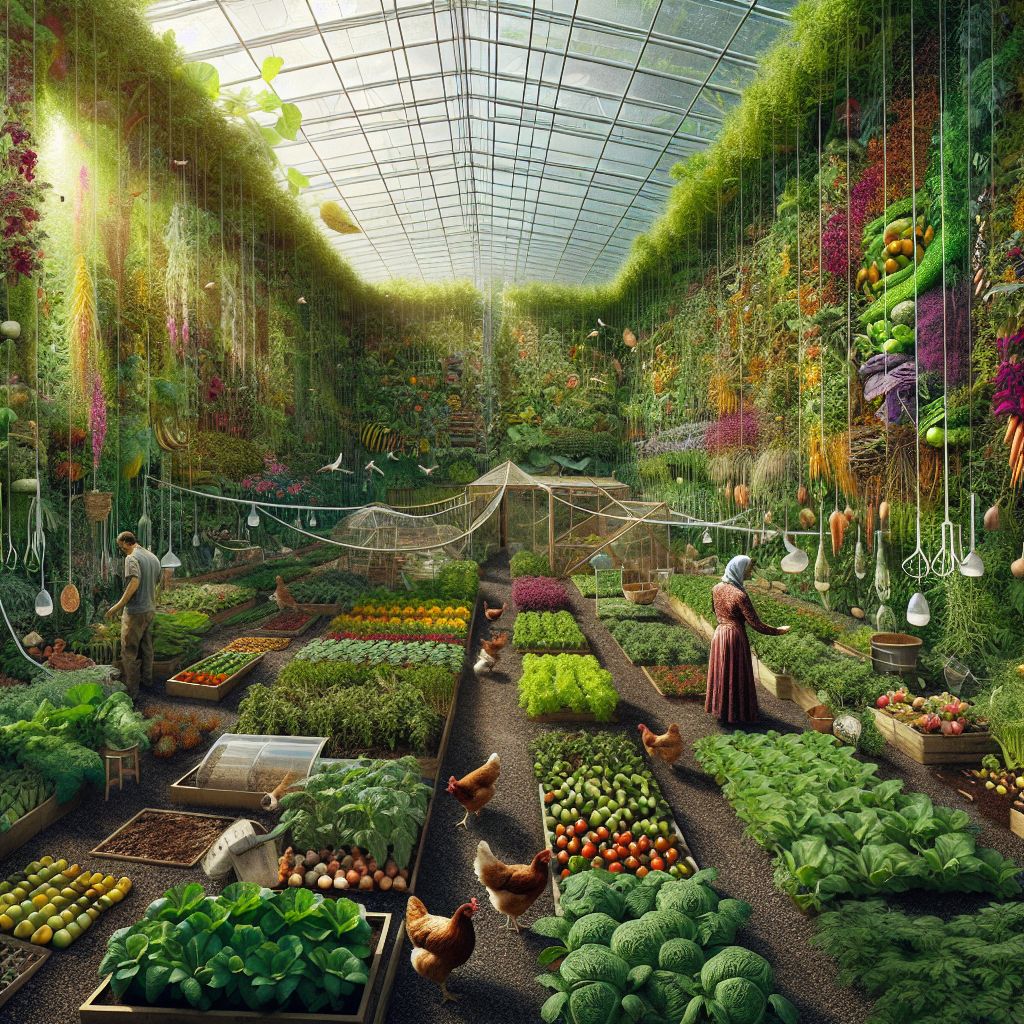
Inside your A-frame, every inch counts. To maximize space, consider installing shelves on the angled walls. These are perfect for starting seedlings or growing smaller plants. Additionally, you can hang planters from the ceiling to take advantage of vertical space. This not only increases your growing area but also adds a beautiful, lush aesthetic to your greenhouse.
For your larger plants or those that require more soil depth, build raised beds along the interior sides. Raised beds can be designed to be waist-high, which makes tending to your plants easier on your back. Plus, they help with drainage and can create a warmer soil environment for your plants.
- Install shelving on the angled walls for seedlings and small plants.
- Use hanging planters to utilize vertical space.
- Build waist-high raised beds for ease of access and improved soil conditions.
By thinking creatively about the layout, you can transform your A-frame greenhouse into a multi-level garden that’s not only efficient but also a joy to work in.

Accessorize: Enhancing Functionality with Add-ons
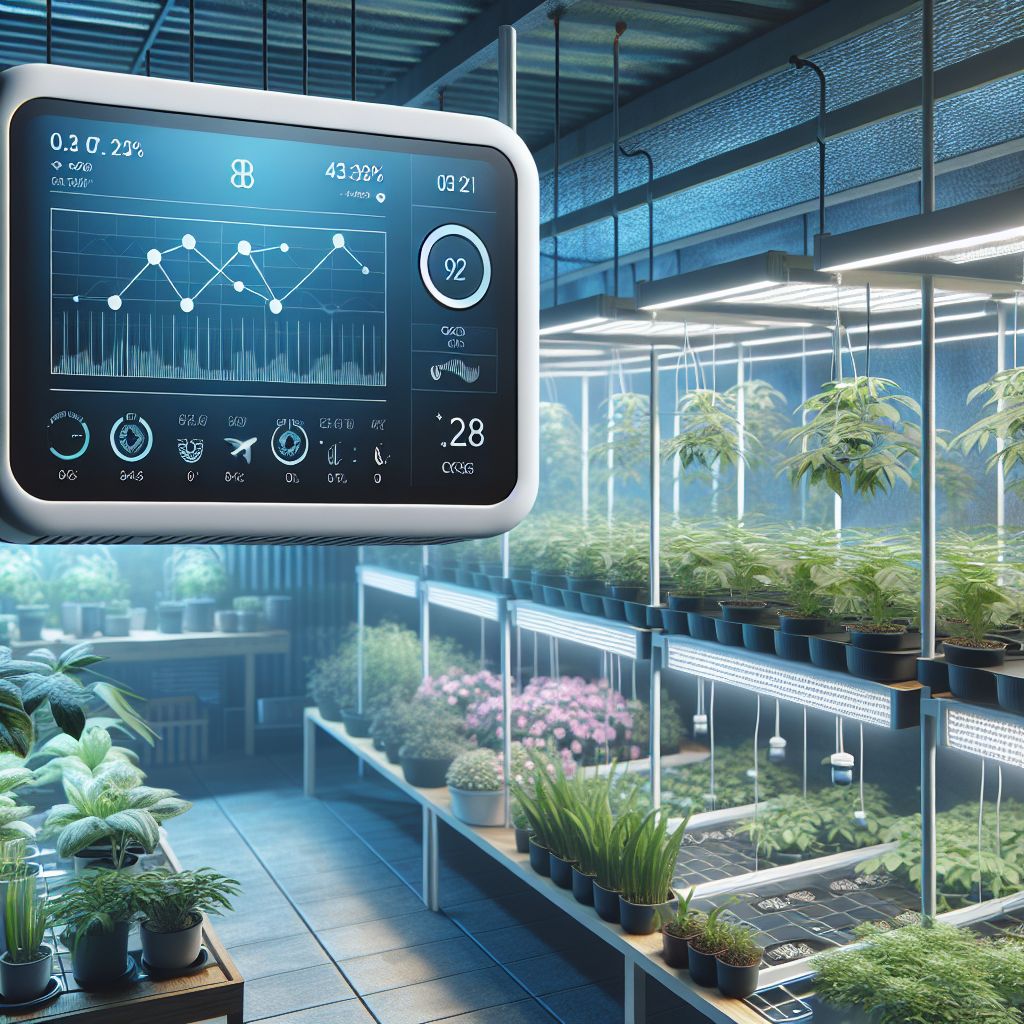
Beyond the structure itself, certain accessories can make a world of difference in how your greenhouse operates. For instance, installing a rainwater collection system can provide you with an eco-friendly source of water for your plants. Additionally, adding a thermometer and humidity gauge will help you keep track of the environment inside, allowing you to make adjustments as needed for optimal plant growth.
DIY Building Tips for the Home Gardener
Building your own A-frame greenhouse can be a rewarding project. But before you dive in, let’s talk about some DIY building tips that will save you time, money, and potential headaches. A well-planned approach is key to a successful build.

Cost-Effective Material Choices
When it comes to materials, cost-effectiveness is your friend. For the foundation, consider using repurposed metal or composite materials that provide stability without the hefty price tag. The frame can be constructed from untreated, natural woods like cedar, which are resistant to decay and provide a rustic look. For the covering, polycarbonate panels are more durable than polyethylene sheeting and will last longer, although they may be a bit more expensive initially.
Common Pitfalls to Avoid During Construction
Even the most enthusiastic DIY builders can run into issues if not careful. Here are some common pitfalls to avoid:
- Ignoring the foundation: A solid foundation is crucial. Make sure it’s level and stable before building upwards.
- Skimping on materials: Opt for durability over short-term savings. Your future self will thank you when you don’t have to replace parts after the first storm.
- Forgetting about ventilation: Proper air circulation is essential for plant health and preventing mold or mildew.
By avoiding these common mistakes, you’ll ensure a smoother building process and a more resilient A-Frame greenhouse.

“Palm tree greenhouse. …” from www.rawpixel.com
Maintaining Your A-Frame Greenhouse
With your A-frame greenhouse up and running, maintenance is the next step to ensure it stands strong year after year. Regular check-ups can prevent minor issues from becoming major problems. For best practices on temperature management in your greenhouse, it’s important to stay informed and proactive.
Regular Check-Ups: Ensuring Long-Term Health of Your Greenhouse
Set a schedule to inspect the structure, especially after extreme weather conditions. Look for tears in the poly sheeting, loose screws, or signs of wear and tear on the wood. It’s also a good idea to clean the poly sheeting periodically to allow maximum light penetration. Remember, a well-maintained greenhouse is a productive greenhouse.
Seasonal Adjustments for Optimal Plant Growth
Adapting to the seasons is crucial. In the warmer months, ensure that your greenhouse is equipped with proper ventilation to avoid overheating. This might mean installing additional vents or even a small fan. During the colder months, consider using bubble wrap as an insulator on the interior of the poly sheeting to retain heat. Also, remember to clear snow from the roof of your A-frame to prevent any damage due to weight.
Frequently Asked Questions (FAQ)
It’s natural to have questions when embarking on a new project like building an A-frame greenhouse. Here are some of the most common questions answered to help you get started with confidence. For more detailed information, you can read our beginner’s guide to starting an urban smart greenhouse.
“I built my A-frame greenhouse last spring, and it has already withstood several heavy storms. Just make sure it’s properly anchored, and choose a spot that’s not too exposed to the wind.”
Can an A-Frame Greenhouse Withstand Harsh Weather?
Absolutely, an A-frame greenhouse can be quite resilient. The key is in the construction—ensure that your foundation is solid and that all components are securely fastened. The A-frame design itself is beneficial as it allows for snow and water to slide off easily, reducing the risk of accumulation and potential damage.
How Do I Control Temperature and Humidity Inside the Greenhouse?
Controlling the climate inside your greenhouse is all about balance. Use vents and doors to regulate temperature and humidity. On hot days, open them up to allow for airflow. On cooler days, keep them closed to trap heat. A thermostat can be a useful tool to monitor conditions inside, and a small heater or humidifier can be added if needed.
What Is the Best Way to Maximize Sunlight in My A-Frame Greenhouse?
To maximize sunlight, position your greenhouse so that the longest side faces south (in the Northern Hemisphere). This orientation ensures that your plants get the most sunlight throughout the day. Also, keep the poly sheeting clean and consider using reflective materials inside to bounce light back onto the plants.
Is It Possible to Build an A-Frame Greenhouse on a Budget?
Yes, building on a budget is entirely possible. Look for second-hand materials, such as windows and doors, which can be repurposed for your greenhouse. Additionally, consider smaller-scale designs which require fewer materials. Doing the work yourself also saves on labor costs.
Can I Expand My A-Frame Greenhouse Once It’s Built?
Expanding your greenhouse can be done, but it requires careful planning. It’s best to design your initial structure with expansion in mind. This might mean constructing the end walls in a way that they can be easily removed or adding modular sections that can be attached later.


