Key Takeaways
- An Arduino is an affordable, programmable microcontroller perfect for greenhouse automation.
- Automation can save time, optimize plant growth, and increase efficiency in your greenhouse.
- Key components include sensors, actuators, and the Arduino board itself.
- With step-by-step guidance, even beginners can set up an automated greenhouse system
- Advanced features like data logging and remote access can further enhance greenhouse management.
Unlock the Potential of Your Greenhouse with Arduino Automation
Imagine stepping into your greenhouse to find your plants in perfect health, every single day. With Arduino automation, this doesn’t have to be a daydream. Whether you’re a seasoned gardener or just starting, the idea of automating your greenhouse might intrigue you. And the good news is, it’s not as complex as it sounds.
What is Arduino?
An Arduino is a small, powerful tool that can play a massive role in greenhouse automation. It’s a microcontroller, which means it’s a tiny computer that can run simple software programs to control other hardware. The beauty of Arduino lies in its simplicity and flexibility, making it ideal for both beginners and tech-savvy gardeners to automate their greenhouses.
Advantages of Automating Your Greenhouse
Why should you consider automating your greenhouse? Well, besides the cool factor, there are practical reasons:
- Consistency: Plants love routine. Automation ensures they get the exact amount of water and light they need, consistently, which can be tough to achieve manually.
- Efficiency: Save water and electricity by using them only when needed, and reduce waste by targeting resources precisely where they’re needed.
- Time-saving: Free up your schedule. With a system in place to care for your plants, you can focus on other tasks or just enjoy your free time.
- Data tracking: Monitor your greenhouse conditions over time, which can help you optimize the environment and troubleshoot any issues that arise.
- Scalability: Start small and scale up. Arduino systems can grow with your greenhouse, making them a smart long-term investment.
Now, let’s get down to the nitty-gritty and start building your automated greenhouse system.
Building Blocks of an Arduino Automated Greenhouse
Choosing the Right Arduino Board
First things first, you’ll need an Arduino board. There are several types available, each with its own strengths. For most greenhouse projects, the Arduino Uno is a great choice. It’s user-friendly, has enough ports for several sensors and actuators, and it’s supported by a vast community of users and developers.
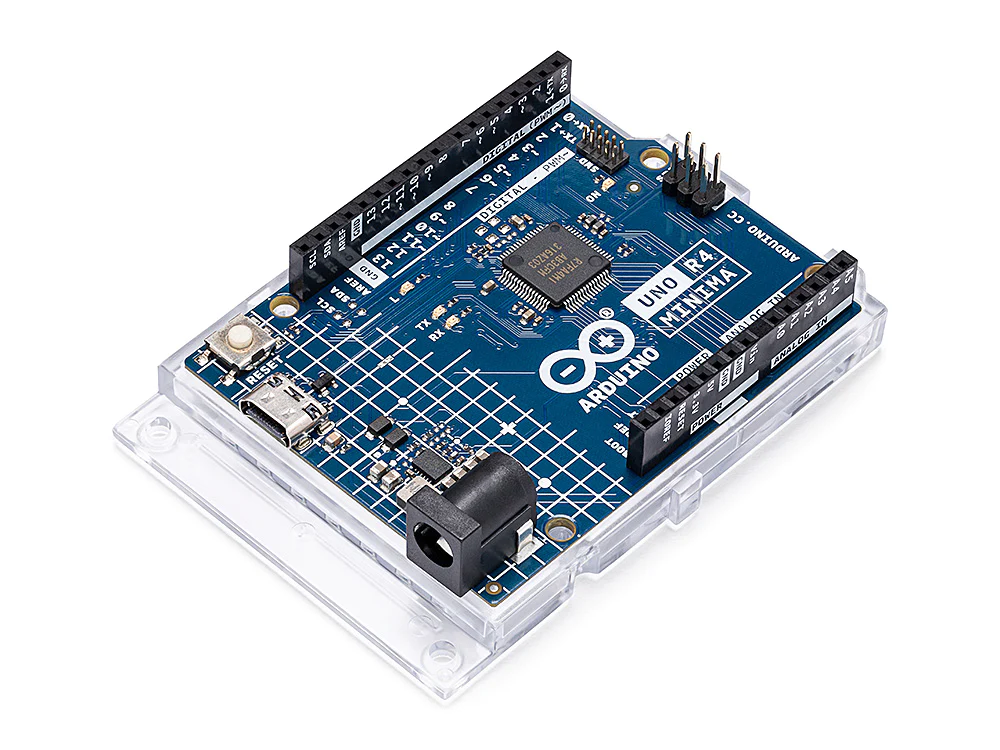
“Arduino Uno R4 Minima perspective …” from commons.wikimedia.org
However, if you’re planning on a larger setup or need more power, consider the Arduino Mega. It offers more input/output pins and memory, allowing you to connect more devices and run more complex programs.
Sensors: The Eyes and Ears of Your Greenhouse
Sensors are crucial in an automated greenhouse system, they collect data about your greenhouse environment. Here are some common ones you might use:
- Temperature and Humidity Sensor: Keeps tabs on the climate inside your greenhouse.
- Soil Moisture Sensor: Measures how much water is in the soil, so you can water your plants only when necessary.
- Light Sensor: Detects how much light is available, which can help you control supplemental lighting.
These sensors give your Arduino the information it needs to make decisions, like when to turn on the irrigation system or lights.
Actuators: Bringing Movement to Automation
Actuators are the muscles of your automation system. They take the data from your sensors and act upon it. Some examples include:
- Water Pumps: Provide water to your plants based on soil moisture levels.
- LED Lights: Supply extra light when the natural light isn’t enough.
- Fans: Turn on to ventilate the greenhouse and control temperature and humidity.
These devices are controlled directly by your Arduino, which switches them on and off based on the sensor data.
Now that you’ve got a handle on the components, let’s start piecing them together.
Programming Your Arduino: The Brain of the Operation
With your sensors and actuators in place, it’s time to program your Arduino. This is where you’ll write the code that tells your system what to do with the information from the sensors. Don’t worry if you’re new to coding—Arduino uses a straightforward programming language, and there’s a wealth of tutorials and forums to help you out. You’ll be writing simple ‘if’ statements, like “if the soil moisture level is low, turn on the water pump.”
Taking Control: How to Manage Your Greenhouse with Arduino
Once your Arduino is programmed, you’re in control. You can set thresholds for temperature, humidity, and soil moisture to maintain the perfect environment for your plants. Your Arduino will continuously monitor the sensor data and adjust the actuators accordingly. It’s like having a diligent gardener in your greenhouse 24/7.
But it’s not just about responding to current conditions. You can also program your Arduino to anticipate needs based on time of day or specific growth stages of your plants. For example, you might want to increase humidity levels during the early morning hours or provide more light during the seedling stage.
Managing your greenhouse effectively means staying adaptable. As the seasons change, so do the needs of your plants. With Arduino, you can tweak your settings at any time to ensure your plants are getting exactly what they need to thrive.
Real-Time Monitoring of Environmental Factors
One of the most exciting aspects of Arduino automation is real-time monitoring. Sensors provide live data, so you can see at a glance the temperature, humidity, and soil moisture levels. This instant feedback allows you to make informed decisions quickly, especially if something in the greenhouse needs immediate attention.
Automated Irrigation: When, How Much, and How Often
Water is life, especially in the greenhouse. Your Arduino can take the guesswork out of irrigation with sensors that measure soil moisture. You’ll program it to water your plants only when they need it, which conserves water and prevents overwatering—a common cause of plant disease. You can also set up different watering schedules for different plant zones, ensuring that each plant gets just the right amount of water.
Optimizing Growth Conditions with Smart Lighting and Ventilation
Plants need the right balance of light and air to grow strong. With Arduino, you can automate your greenhouse’s lighting and ventilation. Use light sensors to determine when to supplement natural light with LEDs, and program your fans to turn on when the greenhouse gets too hot or humid. This way, your plants always have the ideal conditions, day and night.
Beyond Basics: Advanced Features and Customization
Once you’ve got the basics down, you can start adding advanced features to your Arduino greenhouse. These can range from simple tweaks to your existing setup to adding entirely new capabilities.
Data Logging: Tracking Your Greenhouse’s Performance Over Time
Data logging is a powerful feature that records the environmental conditions in your greenhouse over time. This historical data can be invaluable. It helps you understand the patterns and trends in your greenhouse, which can inform future decisions about plant care and system improvements.
By analyzing this data, you can fine-tune your system to be even more efficient. Maybe you’ll notice that your plants do better with a slightly higher humidity level, or that they don’t need as much water as you thought. Data logging gives you the insights to make these adjustments.
Remote Access: Control Your Greenhouse from Anywhere
What if you could check on your plants while you’re on vacation? Or adjust the temperature in your greenhouse from the comfort of your couch? With remote access, you can do just that. By connecting your Arduino to the internet, you can control your greenhouse from anywhere in the world. All you need is a smartphone or computer.
- Check real-time data from your sensors
- Adjust settings and schedules on-the-fly
- Receive alerts if something needs your attention
This level of control not only makes managing your greenhouse convenient, but it also provides peace of mind.
Adding Extra Features: Expanding the Capabilities of Your System
With Arduino, the possibilities are nearly endless. You can keep adding features as you become more comfortable with the system. Consider integrating:
- Additional sensors, like pH or nutrient sensors, to fine-tune your plant care
- Automated feeding systems to provide your plants with the perfect amount of fertilizer
- Weather stations to adjust your greenhouse climate based on external conditions
These enhancements can make your greenhouse smarter and your gardening even more successful.
Future-Proofing Your Greenhouse: Upgrades and Scalability
As you delve deeper into greenhouse automation, you’ll want a system that can grow and evolve with your gardening ambitions. Arduino’s modular nature makes it perfect for this. You can start with a simple setup and expand it as you learn more about what your plants need and what the technology can do.
Scalability: Planning for Growth
When you’re setting up your initial system, think about the future. Choose components that can handle more sensors and actuators than you currently need. As your greenhouse grows, you can easily add new elements without having to replace the whole system. For inspiration on how to plan for scalability, take a look at this automated greenhouse project.
Scalability is about anticipating change and being ready for it. With Arduino, you’re building a foundation that can support whatever direction your green thumb takes you.
Upgrades: Incorporating New Technologies
The world of technology moves fast, and new advancements can make your greenhouse even more efficient and productive. Keep an eye on the latest developments in sensors, actuators, and software that can integrate with your Arduino system. Upgrading components or adding new functionalities can give your plants an even better environment to flourish in.
In conclusion, Arduino greenhouse automation is a game-changer for gardeners. It’s a smart investment that saves time, optimizes plant growth, and offers endless possibilities for customization and expansion. So, roll up your sleeves, because it’s time to take your gardening into the future with Arduino!
Maintenance: Ensuring Long-Term Reliability
Just like any other piece of technology, your Arduino system will need some maintenance to keep it running smoothly. Regularly check your sensors for dirt or damage, as this can affect their accuracy. Also, inspect wires and connections for any signs of wear or corrosion, especially in the humid environment of a greenhouse. Keeping spare parts on hand, like extra sensors or pumps, can save you a lot of trouble if something needs to be replaced quickly.
Sowing Success: Real-World Examples and Outcomes
So you’ve heard about the theory, but what about the practice? Real-world examples show just how transformative Arduino automation can be for greenhouses. Gardeners who have taken the plunge, report not only better plant health and yields, but also a more enjoyable gardening experience. They can focus on the parts of gardening they love, knowing the routine tasks are taken care of.
Case Studies: Greenhouse Automation Triumphs
Take Sarah, for instance, a hobbyist gardener who automated her small greenhouse. After installing an Arduino system, she saw a significant improvement in her tomato plants. They were healthier and more productive because they received the optimal amount of water and nutrients, thanks to the precision of her new setup. And when a heatwave struck, her system adjusted the ventilation accordingly, preventing what could have been a devastating loss.
Testimonials: What Gardeners are Saying About Arduino Automation
It’s not just individual success stories, the feedback from the gardening community has been overwhelmingly positive. “Arduino automation has changed the way I garden,” says Mark, a greenhouse owner. “I have more time to experiment with new plants and techniques because I’m not tied down by watering schedules and climate monitoring.”
FAQ on Arduino Greenhouse Automation System
When it comes to Arduino greenhouse automation, there are always questions. Let’s address some of the most common ones to help you get a clearer picture of what you can expect.
Is Arduino suitable for large-scale greenhouse operations?
Yes, Arduino can scale to larger operations. The key is to choose the right board and components that can handle the increased number of sensors and actuators. The Arduino Mega, for instance, has more input/output pins, making it suitable for a larger setup.
Arduino Mega
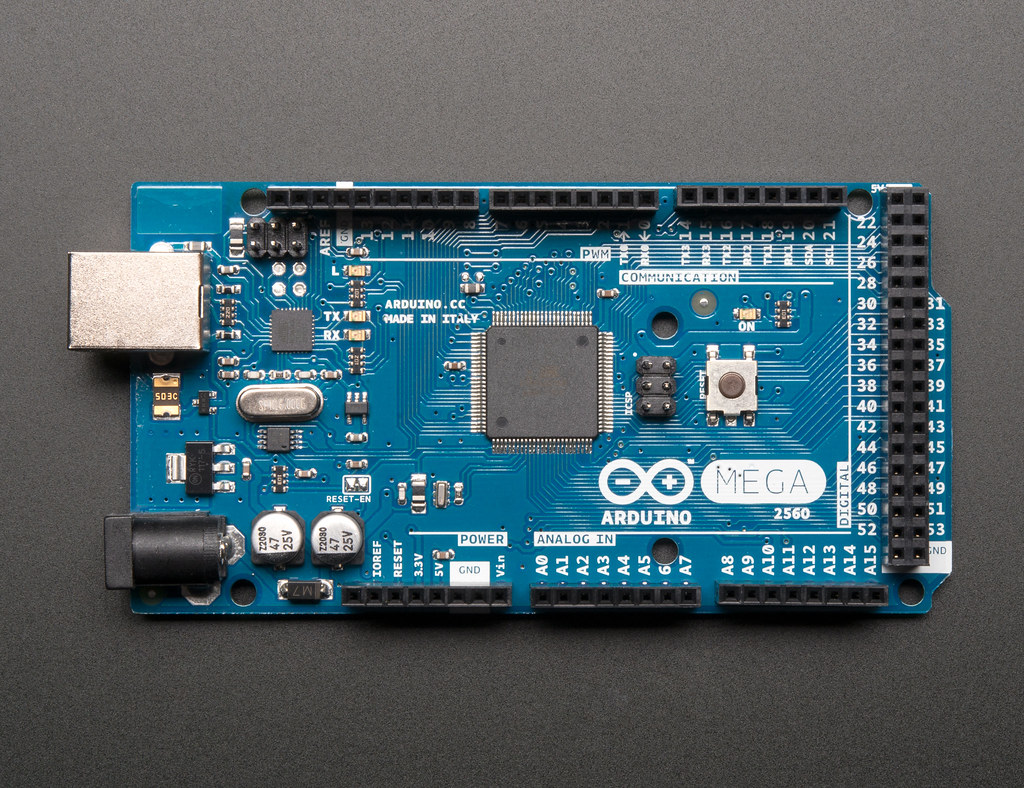
“Arduino Mega 2560 R3” from www.flickr.com
Can I integrate solar power into my Arduino greenhouse system?
Absolutely. Solar panels can provide a sustainable power source for your Arduino and its sensors, especially in off-grid situations. Just make sure to have a reliable battery system in place to store energy for nights and cloudy days.
How can I secure my Arduino setup against environmental damage?
Protecting your Arduino from moisture, dirt, and extreme temperatures is crucial. Use waterproof enclosures for all electronic components and consider ventilation to prevent condensation. It’s also wise to place your system above potential flood levels and shield it from direct sunlight.
What if I have no experience in programming or electronics?
Don’t let that stop you! Arduino is designed for beginners, and there’s a huge community and plenty of resources to help you learn. Start with simple projects and build up your skills over time. Plus, many premade code examples can be easily adapted for your needs.
How cost-effective is Arduino automation for greenhouses?
While the initial setup cost can vary, Arduino automation is generally quite cost-effective, especially when you consider the long-term savings in water, electricity, and time. For example, a basic Arduino Uno board can cost as little as $25, and sensors can range from a few dollars to around $20 each.
In the end, Arduino greenhouse automation is an accessible, scalable, and rewarding way to enhance your gardening experience. It’s a perfect example of how technology can work hand in hand with nature to produce fantastic results. So why not give it a try? Your plants will thank you, and you’ll wonder how you ever gardened without it.