Key Takeaways
- Choose the right varieties for your greenhouse to maximize microgreen yield and flavor.
- Set up your greenhouse with effective environmental controls and space-efficient layouts.
- Use proper sowing techniques with the right soil or growing medium for maximum germination.
- Implement consistent care, including appropriate lighting and watering practices.
- Harvest your microgreens at the right time and handle them carefully for peak quality.
Unlocking the Potential of Greenhouse Microgreens
Imagine walking into your greenhouse and being greeted by rows of lush, vibrant microgreens. These tiny powerhouses are not only packed with nutrients but also add a burst of flavor and color to any dish.
But here’s the secret – getting to that point of abundance and quality takes more than just scattering seeds and hoping for the best. It’s about understanding the nuances of greenhouse growing and mastering techniques that make all the difference.
Why Microgreens Matter
Microgreens are more than just a trendy garnish, they’re a versatile crop that can be grown year-round, offering a quick turnaround from seed to harvest. Besides that, they require minimal space and can be a profitable venture for urban farmers. Most importantly, they’re incredibly nutritious, often containing higher levels of vitamins and antioxidants than their mature plant counterparts.
Benefits of Greenhouse Cultivation
Why choose a greenhouse for growing microgreens? The controlled environment protects your tender greens from harsh weather and pests, providing a stable setting that leads to consistent yields. A greenhouse also allows you to extend the growing season, or even grow year-round, which is especially valuable in urban areas where outdoor space is limited.
Choosing the Right Microgreen Varieties
Not all microgreens are created equal when it comes to greenhouse cultivation. Some thrive under the diffuse light and warm conditions, while others might not perform as well. That’s why selecting the right varieties is crucial for maximizing yield.
Top Varieties for Greenhouse Growth
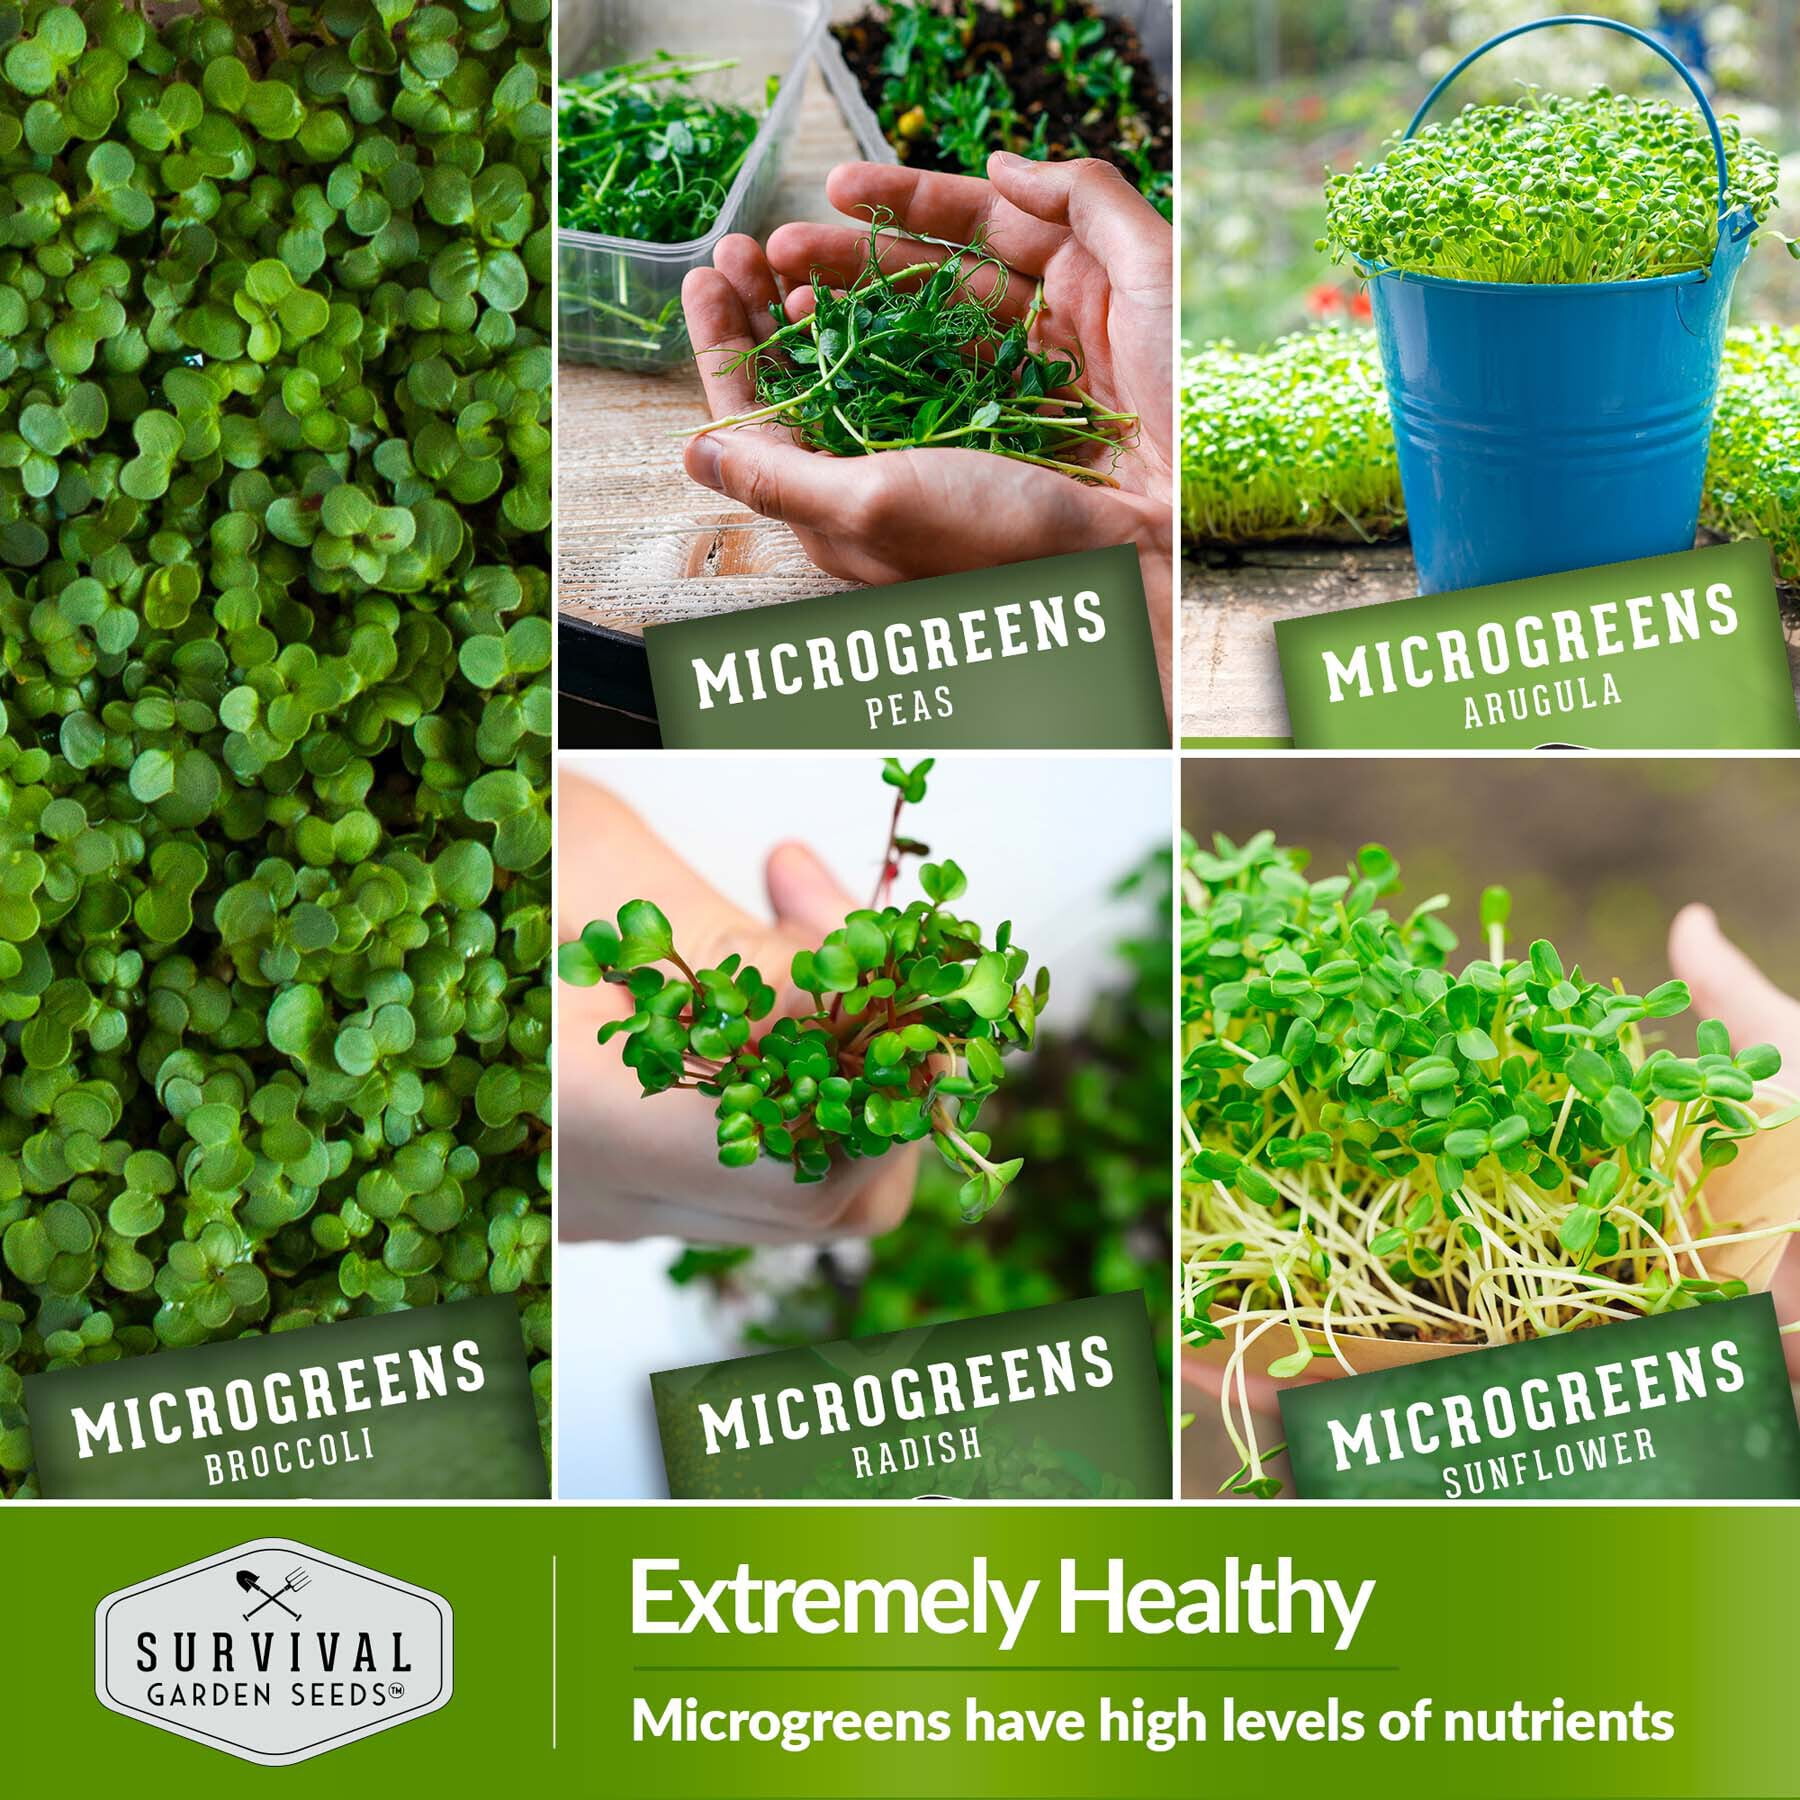
When it comes to picking varieties, you want to look for those that have a proven track record in greenhouse environments. Some top performers include:
- Radish: Known for their rapid growth and spicy flavor.
- Arugula: Offers a peppery kick and is highly sought after.
- Pea Shoots: Sweet and tender, with a quick turnaround.
- Broccoli: Renowned for its health benefits and mild flavor.
- Kale: Hardy and nutrient-dense, a favorite among health enthusiasts.
“Microgreens Seeds 10 Pack – Arugula …” from www.walmart.com
Understanding Seed Quality and Selection
Seed quality is paramount. Opt for non-GMO, organic seeds whenever possible to ensure the healthiest and most natural crops. Remember, the better the seed, the better the chance of a high-yield, high-quality harvest.
Setting Up Your Greenhouse for Success
Before you even think about planting, you need to create the best possible environment for your microgreens to flourish. This means paying close attention to temperature, humidity, and light – the trinity of greenhouse growing.
Optimal Environmental Controls
Temperature control is vital. Microgreens like it warm but not hot, aim for a consistent temperature between 60-70°F (15-21°C). Humidity should be moderate to prevent mold growth, ideally between 40-60%. As for light, it’s all about balance.
Microgreens need plenty of it, but the intensity and duration should be adjusted based on the variety. Natural light is great, but supplemental LED lights can provide a boost, especially during the shorter days of winter.
Layout and Space Efficiency
Maximizing space is key in a greenhouse setting. Use vertical shelving units to take advantage of the height and stack your trays of microgreens. Ensure there’s enough space between shelves for light to reach the lower levels and for air to circulate to prevent disease.
Sowing Techniques for Maximum Germination
Now, let’s talk about getting those seeds into the soil. Proper sowing is a critical step that can make or break your microgreen yield.
Soil and Alternative Growing Mediums
You have options when it comes to growing mediums. A fine-grained, organic potting mix is a great start, but some urban farmers prefer coconut coir or peat moss for its sustainability and water retention properties. Whichever you choose, ensure it’s sterile to prevent disease.
Seed Density and Spacing
Getting the seed density right is more art than science. Too few seeds and you’re not maximizing your yield, too many and you risk overcrowding and disease. A general rule of thumb is to aim for a single layer of seeds spread evenly across the surface of your growing medium.
- Prepare your trays with the growing medium, leveled and moistened.
- Evenly distribute the seeds over the surface, avoiding clumping.
- Cover the seeds lightly with a thin layer of soil or use a humidity dome to maintain moisture during germination.
- Keep the trays in a dark, warm place until the seeds have sprouted.
After sowing, it’s all about providing consistent care to shepherd your microgreens from sprouts to harvest. This involves managing light, water, and nutrients—each one a pillar supporting the temple of growth.
Mastering Microgreen Care
As your microgreens begin to sprout, they’ll tell you what they need. Pay attention to their color, height, and leaf size. These indicators help you adjust their care to ensure they’re getting just the right amount of light, water, and nutrients.

Lighting Needs for Different Stages
In the beginning, microgreens don’t need light to germinate, but once they sprout, they’ll need plenty to grow strong and healthy. If you’re using artificial lights, hang them about 6-12 inches above the plants and keep them on for about 14-16 hours a day. Remember to choose full-spectrum lights to mimic the sun’s natural rays.
Watering Practices to Promote Growth
Water is life, but too much or too little can spell disaster. Here’s how to get it just right:
- Water from below by filling the tray beneath your growing medium. This encourages roots to grow down and prevents mold on the leaves.
- Keep the medium moist, not wet. Your microgreens should never sit in standing water.
- Use a spray bottle for gentle watering, especially when your greens are young and fragile.
As your microgreens grow, they’ll start to use up the nutrients in their growing medium. That’s why it’s important to give them a little boost. For more detailed guidance on maintaining plant health, check out these common greenhouse diseases and management tips.
Nutrient Management for Robust Plants
A balanced liquid fertilizer can go a long way. Opt for an organic option that’s suitable for leafy greens and apply it sparingly. Too much fertilizer can harm your delicate microgreens, so follow the instructions carefully.
Advanced Tips for Boosting Yield
Once you’ve got the basics down, it’s time to fine-tune your process. These advanced tips can help you squeeze every last bit of potential out of your greenhouse microgreens.
Pruning and Harvesting Techniques
Believe it or not, pruning can benefit even these tiny plants. By selectively trimming, you can encourage fuller growth and increase airflow, which helps prevent disease. And when it’s time to harvest, use a sharp knife or scissors to cut just above the soil line for the freshest greens.
Climate Control for Year-Round Production
By maintaining the ideal climate in your greenhouse, you can produce microgreens even when it’s snowing outside. This means managing not just temperature and humidity, but also ventilation to keep the air fresh and prevent the buildup of harmful pathogens.
Dealing with Challenges
Of course, even with the best-laid plans, you’ll face challenges. Pests and diseases can sneak in, and environmental stressors can test the resilience of your plants. But don’t worry, I’ve got you covered.
Managing Common Pests and Diseases
Prevention is your best defense against pests and diseases. Keep your greenhouse clean, remove any dead plant material promptly, and use insect nets to keep pests out. If you do encounter an issue, organic pesticides and fungicides can be effective when used as directed.
Environmental stressors like extreme temperatures or fluctuations in humidity can also affect your microgreens. The key to overcoming these is to monitor your greenhouse conditions closely and adjust as needed. Sometimes, even small changes can make a big difference.
Overcoming Environmental Stressors
Use shade cloths to protect your greens from intense sunlight, and consider a heating mat for those colder days. Keep an eye on the weather forecast and be ready to react to keep your microgreens happy and healthy.
HARVEST: Timely Tips for Gathering Greens
Harvesting at the right time is crucial for the best flavor and nutrition. Most microgreens are ready to harvest when they have their first set of true leaves, about 7-14 days after germination, depending on the variety.
When to Harvest for Peak Flavor and Nutrition
Use your senses to determine the best time to harvest. Look for vibrant, fully developed leaves and a strong, fresh scent. The flavor is at its peak just before the plants start to mature, so don’t wait too long.
Post-Harvest Handling and Storage Best Practices
After harvesting, handle your microgreens with care. Gently wash them in cold water and dry them thoroughly but delicately. For storage, wrap them in a paper towel to absorb any excess moisture and store them in a breathable container in the refrigerator. They’ll stay fresh for about a week if handled properly.
And there you have it, a comprehensive guide to maximizing your microgreen yield in a greenhouse. With these secrets, techniques, and tips, you’ll be on your way to a bountiful harvest that’s not only delicious but also a feast for the eyes. Remember, every urban farmer’s journey is unique, so don’t be afraid to experiment and find what works best for you and your microgreens.
After you’ve mastered the cultivation process, it’s essential to focus on the post-harvest phase. This is where you ensure that the quality and freshness of your microgreens are maintained until they reach the plate.
Post-Harvest Handling and Storage Best Practices
Harvesting your microgreens at the right stage is only half the battle. Proper post-harvest handling is critical to extend shelf life and maintain quality. Begin by harvesting in the cool hours of the morning, when the plants are most hydrated. Use a sharp knife or scissors to minimize damage and handle the greens gently to avoid bruising. Rinse them in cold water to remove soil and cool them down, which slows the respiration rate and preserves freshness.
After washing, dry your microgreens thoroughly but gently. A salad spinner works well for this purpose. Moisture is the enemy of freshness, so ensure they are as dry as possible before storing. Wrap them in a paper towel or a clean cloth to absorb any residual moisture and place them in a container that allows for some airflow. Store your microgreens in the refrigerator, ideally at a temperature of 36-40°F (2-4°C), and they should stay fresh for up to a week.
Marketing Your Microgreens
With your microgreens harvested and stored, it’s time to think about getting them to customers. Marketing is about finding the right audience and presenting your product in a way that resonates with the buyer’s. One expert tip i can share with you, is start your marketing before you plant your microgreens.
Don`t sell them beforehand, but start direct marketing through farmers markets and local food fairs is an excellent way to connect with customers. Building relationships with local chefs can also be a lucrative avenue, as they’re always on the lookout for fresh, high-quality ingredients.
Don’t overlook the power of social media to reach a broader audience and showcase your microgreens with engaging content and attractive photos.
Packaging and Selling Strategies
When it comes to selling microgreens, presentation is key. Opt for clear, clean packaging that allows the vibrant colors of your greens to shine through. Label your products with information about the variety of microgreens, their nutritional benefits, and suggested uses. Consider selling in different sizes to cater to both individual consumers and restaurants or caterers.
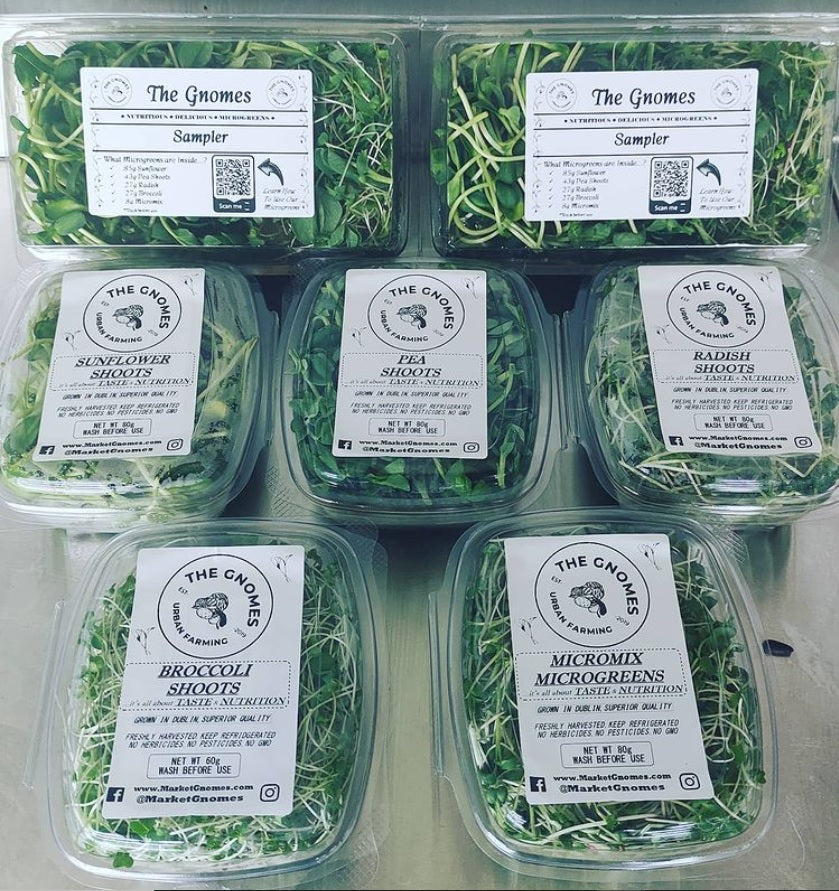
“Microgreens – Nutritional Information …” from marketgnomes.com
Building a Brand Around Quality and Sustainability
Your brand is what sets you apart in the marketplace. Focus on the quality and sustainability of your microgreens to create a brand image that appeals to health-conscious consumers and those interested in local, environmentally-friendly food options. Share your growing practices and the steps you take to ensure the freshest, most nutritious product. A strong brand story can create loyal customers and generate word-of-mouth referrals.
Frequently Asked Questions on Maximize Microgreen Yield
What are the most productive microgreen varieties to grow in a greenhouse setting?
The most productive microgreen varieties for greenhouse cultivation typically include radish, pea shoots, sunflower, and wheatgrass due to their quick growth rates and favorable response to controlled environments. Experiment with different varieties to see which ones perform best in your specific greenhouse conditions.
- Radish microgreens: quick to germinate and harvest, with a spicy flavor.
- Pea shoots: tender and sweet, popular in salads and as garnishes.
- Sunflower microgreens: robust and nutty, a favorite for their texture.
- Wheatgrass: known for its health benefits, often juiced.
How often should I water my microgreens, and what’s the best method?
Microgreens should be watered lightly but consistently to keep the growing medium moist without becoming waterlogged. The best method is bottom watering, which encourages deep root growth and reduces the risk of mold and disease on the foliage. Check the moisture level daily, and water as needed to maintain the ideal conditions.
Can I use LED lights for growing microgreens, and if so, what spectrum is best?
Yes, LED lights are an excellent option for growing microgreens in a greenhouse. They’re energy-efficient and can provide the full spectrum of light that plants need to photosynthesize. For microgreens, a full-spectrum LED light that mimics natural sunlight is best, providing the right balance of blue and red wavelengths to support strong, healthy growth.
How can I naturally prevent pests in my greenhouse without using chemicals?
Natural pest prevention starts with maintaining a clean and well-ventilated greenhouse. Introduce beneficial insects like ladybugs or lacewings to control aphids and other pests. Practice crop rotation and use physical barriers such as floating row covers to protect your microgreens. Regular monitoring and immediate removal of affected plants can also help prevent the spread of pests.
What is the average time from seed to harvest for most microgreens?
The average time from seed to harvest for most microgreens is typically between 7 to 14 days, depending on the variety and growing conditions. Fast-growing microgreens like radish can be ready in as little as 5 days, while slower-growing varieties like beet greens may take up to 3 weeks.
By following these growing secrets, techniques, and tips, you’re now equipped to maximize your microgreen yield in a greenhouse setting. Whether you’re a seasoned urban farmer or just starting, remember that every small step you take can lead to significant results.
Five Important Action Steps:
- Research and Planning: Conduct thorough research on the microgreen market, including demand, competition, and consumer preferences. Develop a detailed business plan outlining your goals, strategies, and timelines for launching and growing your microgreen business.
- Invest in Quality: Select high-quality seeds, growing mediums, and equipment to ensure optimal growth and yield. Prioritize excellence in every aspect of cultivation and customer service to build a strong reputation for your brand.
- Build Relationships: Forge strong relationships with suppliers, customers, and other stakeholders in the microgreen industry. Cultivate a network of support and collaboration to help you navigate challenges and capitalize on opportunities.
- Market Strategically: Develop a comprehensive marketing strategy to attract customers and generate sales. Utilize online platforms, social media, and local market channels to raise awareness of your microgreen products and differentiate your brand from competitors.
- Adapt and Innovate: Stay informed about market trends, technological advancements, and consumer preferences in the microgreen industry. Continuously adapt and innovate your products and services to meet changing demands and maintain a competitive edge in the market.
🌱 Unlock the Secrets to Growing Gourmet Greens and Building a Lucrative Microgreen Business! 🌱
Happy farming!