Key Takeaways
- Wireless temperature sensors are essential for maintaining optimal conditions in controlled environment agriculture (CEA).
- Choosing the right sensor involves assessing compatibility with your setup and evaluating sensor range and accuracy.
- Proper installation begins with understanding your greenhouse layout and gathering the necessary tools.
- Positioning sensors correctly is crucial for accurate temperature readings.
- Post-installation, it’s important to test sensor functionality and calibrate for precise data.
The Importance of Temperature Control in Controlled Environment Agriculture (CEA)
In the world of farming, precision is key. And when it comes to controlled environment agriculture, or CEA, maintaining the right temperature is not just important—it’s everything. Whether you’re nurturing delicate seedlings or growing lush lettuce, the temperature can mean the difference between a bountiful harvest and a failed crop. That’s where wireless temperature sensors come in, offering a way to keep a constant, watchful eye on your greenhouse’s climate without the hassle of wires.
But why go wireless? Imagine trying to lay cables across the vast expanse of a modern greenhouse. It’s not only time-consuming and costly but also limits your flexibility in sensor placement. Wireless sensors, on the other hand, can be easily moved as your greenhouse evolves, ensuring that you always have the most accurate temperature readings exactly where you need them.
Overview of Wireless Temperature Sensor Technology
Wireless temperature sensors are nifty little devices that pack a lot of tech into a small package. They measure the temperature of their environment and send that data to a central system without any physical connections. This means you can monitor and adjust conditions from your smartphone or computer, making sure your plants are always in their happy place, temperature-wise.
And they’re smart, too. These sensors can alert you if temperatures swing out of the optimal range, allowing you to take immediate action to protect your plants. Plus, with data logging, you can track temperature trends over time, which is invaluable for improving your greenhouse operations and ultimately, your crop yield.
Choosing the Right Wireless Temperature Sensor for Your Greenhouse
Assessing Compatibility with Your CEA Setup
Before diving into the installation, it’s crucial to pick a sensor that plays nice with your existing system. Compatibility is the name of the game here. You’ll want to ensure that the sensor you choose can communicate effectively with whatever monitoring system you’re using. Some sensors are proprietary and only work with certain systems, while others use common standards like Wi-Fi or Bluetooth, which can connect with a variety of devices.
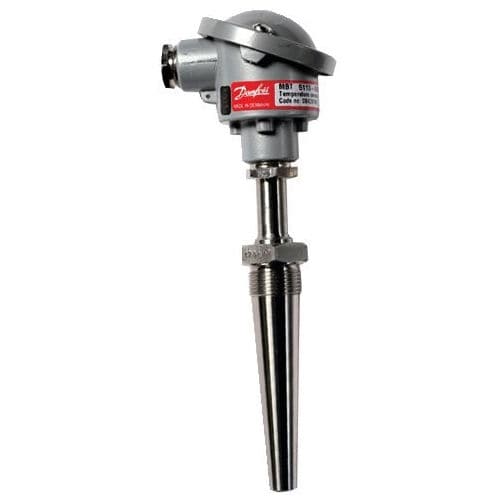
“Choosing the Right Temperature Sensor …” from guide.directindustry.com
Here’s what you need to consider, for more information on how wireless temperature sensors can be utilized effectively.
- Connectivity: Does the sensor use a communication protocol compatible with your system?
- Power requirements: Can your greenhouse supply the necessary power, or will you need battery-operated sensors?
- Integration: How easily will the new sensors integrate with your current setup? Can they work in tandem with other sensors and control systems?
Evaluating Sensor Range and Accuracy
Next up, let’s talk about range and accuracy. The sensor’s range determines how far it can be from the receiver while still transmitting data effectively. If your greenhouse is the size of a football field, you’ll need a sensor with a long enough range to cover that distance without signal loss.
Accuracy, on the other hand, is about how precise the sensor’s temperature readings are. A high level of accuracy is vital because even small deviations can impact plant health. Most sensors will list their accuracy range on the packaging or in the product specs, so keep an eye out for that.
Preparing for the Installation
Gathering Necessary Tools and Resources
Before we roll up our sleeves and get to work, let’s make sure we have everything we need. You’ll want to gather some basic tools, a ladder for reaching high places, a drill if you need to mount the sensors, and perhaps some cable ties or adhesive pads for securing sensors in place. Also, grab your sensor’s instruction manual—it’s your installation bible.
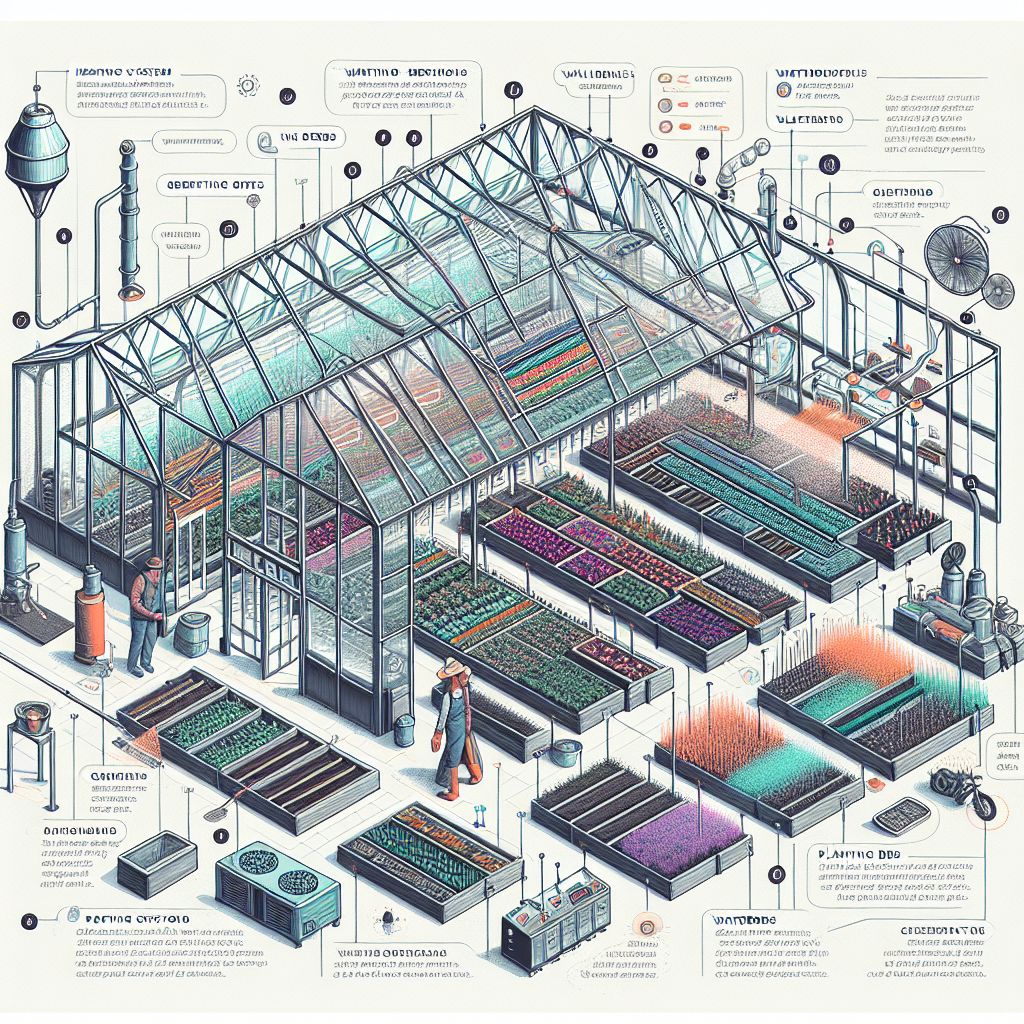
Understanding Your Greenhouse Layout
Take a good look at your greenhouse layout. You need to know where the hot and cold spots are, where plants are most densely packed, and where air circulation might affect temperature readings. This will help you decide where to place your sensors for the most accurate and useful data.
Think about it like setting up a game of chess. Each sensor is a piece with a specific role, and placing it strategically will help you win the game of optimal greenhouse temperatures. You’ll typically want to place sensors at plant height, where they can get a true reading of the conditions your plants are experiencing.
Step-by-Step Sensor Installation Process
Now that you’ve chosen the perfect sensors and scoped out your greenhouse layout, it’s time to get down to the nitty-gritty of installation. This is where precision meets practicality. Let’s walk through the steps to ensure your sensors are set up for success.
Positioning Your Sensors Optimally
First things first, let’s find the best homes for these sensors. You’ll want to distribute them evenly throughout the greenhouse to get a comprehensive picture of the environment. Here’s what to keep in mind,
- Place sensors at plant level to get the most relevant temperature readings.
- Avoid direct sunlight on sensors, which can skew temperature data.
- Consider areas with variable temperatures, like near doors or vents, for additional sensors.
Positioning is critical because if a sensor is in the wrong spot, it’s like trying to read a book with half the pages missing. You won’t get the full story of what’s happening in your greenhouse.
Mounting the Sensors and Securing Them in Place
Once you’ve picked the perfect spots, it’s time to mount your sensors. If you’re using a drill, be gentle. You’re not building a treehouse, you’re securing delicate technology. For adhesive pads or cable ties, make sure surfaces are clean so everything stays put. Sensors should be secure but not squeezed tight—think of a firm handshake, not a bear hug.
And remember, sensors are not set-it-and-forget-it devices. They may need to be moved or adjusted as your greenhouse changes, so consider this when choosing how to mount them.
Syncing Sensors with Your Monitoring System
With your sensors mounted, it’s time to bring them to life. Syncing them with your monitoring system should be straightforward—most sensors come with a set of instructions that are as easy as pie. Follow the steps, and before you know it, you’ll be receiving real-time temperature data on your device.
If you run into any snags, don’t panic. Most issues can be resolved with a quick check of the manual or a call to customer support. Remember, this technology is here to serve you, not to give you a headache.
Post-Installation Steps
The sensors are up, and data is flowing, but we’re not quite done yet. A few post-installation steps will ensure everything is running like a well-oiled machine.
Testing Sensor Functionality
Test each sensor to confirm it’s working correctly. You might place a portable thermometer next to the sensor to see if the readings match up. If they do, you’re golden. If not, a little troubleshooting is in order. Double-check that everything’s installed correctly and that your sensors are fully charged or plugged in.
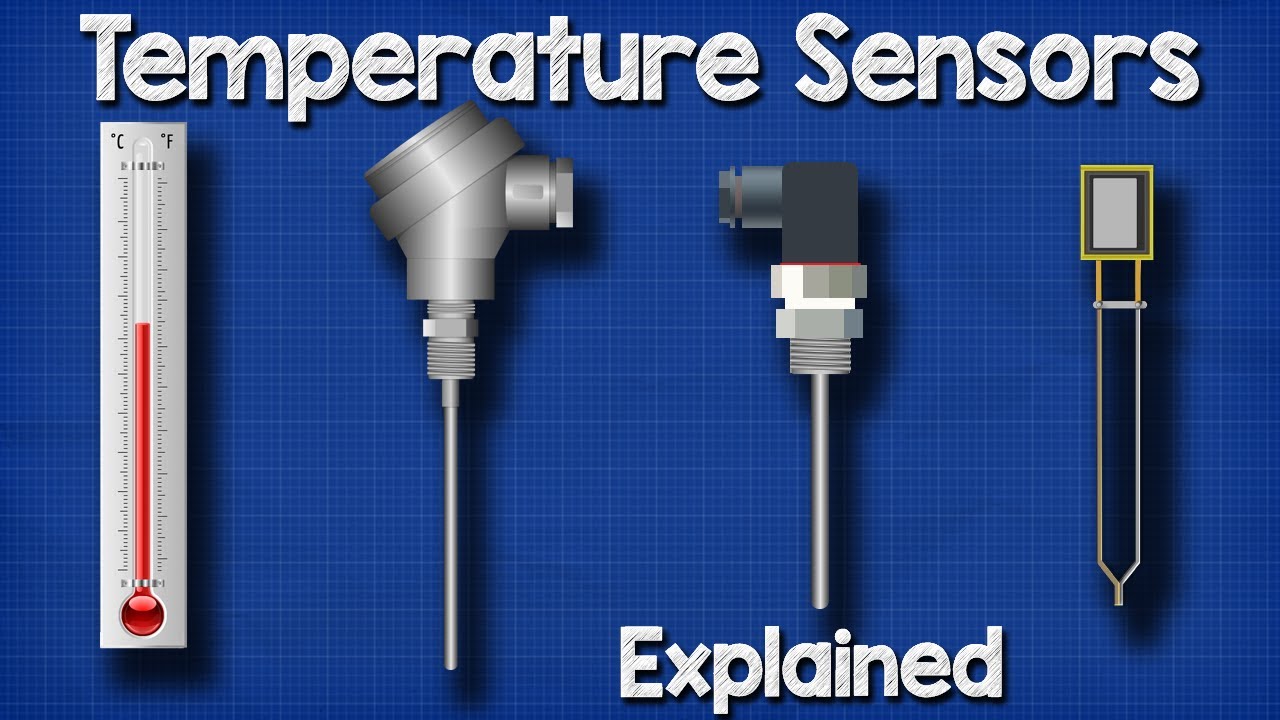
“Temperature Sensors Explained – YouTube” from m.youtube.com
Calibrating Sensors for Accurate Readings
Accuracy is the cornerstone of good data. Most sensors will be pre-calibrated, but it’s a good practice to check them yourself. Calibration might sound technical, but it’s really just a fancy word for ‘setting the baseline.’ Follow the instructions that came with your sensors, and you’ll be set.
In the rare case that your readings are still off, reach out to the manufacturer. They’re the experts on their product and can help guide you to a solution.
Maintaining Your Wireless Temperature Sensors
With installation out of the way, let’s talk maintenance. Keeping your sensors in tip-top shape is key to getting reliable data year-round. Here’s what you need to keep an eye on.
- Check the sensor batteries regularly and replace them as needed.
- Clean the sensors according to the manufacturer’s instructions to ensure accurate readings.
- Periodically verify that the sensor’s firmware is up to date.
Just like you take care of your plants, take care of your sensors. They’re the unsung heroes of your greenhouse, after all.
Regular Check-Ups and Troubleshooting
Set a schedule to check on your sensors. This doesn’t need to be a daily task—once a month should suffice. Look for any physical damage, make sure they’re still securely mounted, and check that the data they’re sending is consistent with expected greenhouse monitoring systems performance.
If you do spot an issue, consult the manual first. Many common problems have simple fixes. If the manual doesn’t help, customer support is your next best friend. Keep their contact info handy for quick access.
Remember, a proactive approach to maintenance can prevent a lot of headaches down the road. Your future self will thank you for the extra attention you give to these little devices today.
Battery Management and Replacement Schedules
Batteries are the lifeline of your wireless sensors, so it’s essential to have a management plan in place. Typically, a sensor’s battery life can range from a few months to several years, depending on the model and usage. Here’s what you need to do.
- Check the manufacturer’s specifications for battery life expectancy.
- Keep a log of battery replacement dates to predict when they’ll need changing next.
- Always have spare batteries on hand to avoid any downtime.
By keeping a close eye on battery life, you’ll ensure your sensors are always ready to guard the climate of your greenhouse.
Advanced Tips for CEA Sensor Optimization
You’ve got your wireless temperature sensors installed, and they’re humming along nicely. But let’s not stop there. There are ways to push the envelope and get even more out of your setup. Here’s how you can fine-tune your system for peak performance.
Integrating Sensors with Automated Control Systems
The true power of wireless sensors is unlocked when they’re integrated with automated control systems. This means your sensors can directly communicate with your heating, cooling, and ventilation systems. If the temperature deviates from the desired range, the system can adjust automatically—no human intervention needed.
This kind of automation not only saves you time but also ensures that your plants are always growing in the perfect climate. Plus, it reduces the risk of human error, which can sometimes be the difference between a good harvest and a great one.
Utilizing Data Analysis for Enhanced Crop Management
The data your sensors collect is a goldmine of information. By analyzing temperature trends, you can make informed decisions about planting schedules, pest management, and watering. For example, if you notice certain parts of your greenhouse consistently run hot, you might decide to plant heat-tolerant varieties in those areas.
Many modern sensors come with software that can help you visualize this data in charts and graphs, making it easier to spot patterns and trends. Use this to your advantage, and let the data guide your farming decisions.
FAQ
How often should I replace the batteries in my wireless sensors?
The frequency of battery replacement varies by sensor model and usage, but a good rule of thumb is to check them every 6 to 12 months. Some sensors have battery indicators, while others might send an alert when power is low. Always refer to your sensor’s manual for the most accurate information.
Can I use these sensors outdoors?
Most wireless temperature sensors are designed for indoor use, but there are models available that are weatherproof and suitable for outdoor use. If you need to monitor outdoor conditions, make sure to choose sensors specifically rated for exterior environments.
What is the range of a typical wireless temperature sensor?
A typical wireless temperature sensor can have a range from 30 meters (about 100 feet) up to several hundred meters when unobstructed. Walls and other obstacles can reduce this range, so consider using repeaters or a mesh network setup to extend coverage if needed.
How many sensors do I need for my greenhouse?
The number of sensors you need depends on the size and complexity of your greenhouse. A basic rule is to have at least one sensor for every different microclimate area, but more sensors will give you a more detailed picture of your environment. It’s a balance between cost and the level of detail you need. For more insights on optimizing your greenhouse, consider exploring advanced smart greenhouse trends.