Key Takeaways
-
Microgreens are nutrient-packed young plants that can be grown in small urban spaces.
-
Creating a controlled environment is crucial for optimizing microgreen growth.
-
Choosing the right location and microgreen varieties sets the foundation for success.
-
Light, temperature, and humidity are the key environmental factors to manage.
-
Simple supplies and equipment are all that’s needed to start growing microgreens at home.
When you think of urban farming, what comes to mind? Rooftop gardens, community plots, maybe even indoor vertical farms. But there’s a powerhouse player in the urban farming game that’s small in size but huge in nutrition: microgreens. These little greens are more than just a garnish, they’re a full-blown superfood, and you can grow them right in your own home.
What Are Microgreens?
Microgreens are young vegetable greens that are harvested just after the cotyledon leaves have developed. They are typically harvested 7-21 days after germination, when they are about 1-3 inches tall. Don’t let their size fool you, these tiny plants pack a nutritional punch, often containing higher vitamin, mineral, and antioxidant levels than the same quantity of mature greens.
Why Grow Microgreens in a Controlled Environment?
Microgreens thrive in environments where you can control the factors that impact their growth. By fine-tuning the light, temperature, and humidity, you can boost their growth rate and nutritional content. Plus, growing them indoors means you can enjoy fresh greens year-round, no matter the weather outside.
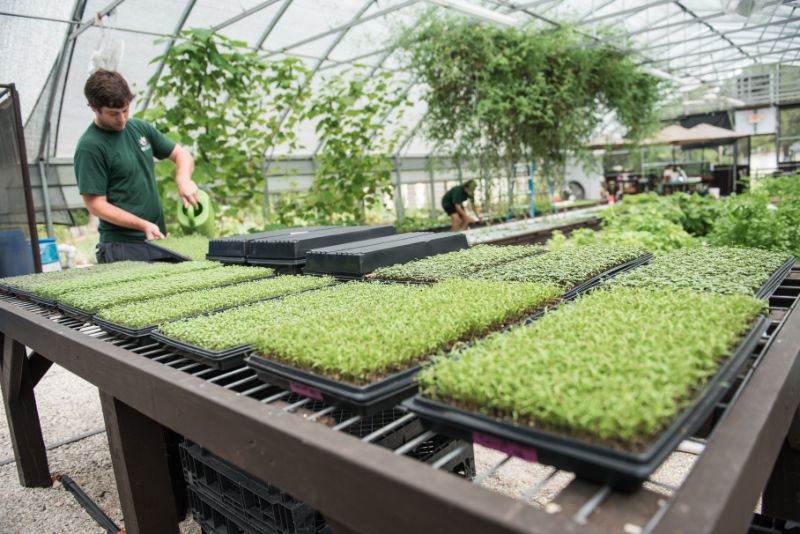
“Dirt-Free Farming | Edible Northeast …” from ediblenortheastflorida.ediblecommunities.com
Setting Up Your Microgreens Garden
Choosing the Right Location
First things first, you need to find the perfect spot for your microgreen garden. You’re looking for a place that’s out of direct sunlight, which can be too intense for these delicate plants. A north-facing windowsill, a shelf under a grow light, or even the top of your fridge can be ideal spots. Just make sure it’s a spot that stays relatively cool and doesn’t experience drastic temperature changes.
Selecting Your Microgreen Varieties
There are so many microgreen varieties to choose from, each with its own unique flavor and nutritional profile. Some popular options include:
-
Radish microgreens for a spicy kick
-
Pea shoots for a sweet, crunchy snack
-
Arugula for a peppery zest
-
Broccoli for a dose of sulforaphane, known for its cancer-fighting properties
Consider starting with one or two varieties that you enjoy eating and that are known for being beginner-friendly.
Gathering Supplies and Equipment
Now for the fun part: shopping for supplies! Here’s what you’ll need to get started:
-
Seeds: Look for seeds that are specifically labeled for growing microgreens.
-
Trays: Shallow trays work best. You can even repurpose food containers if they’re clean and have drainage holes.
-
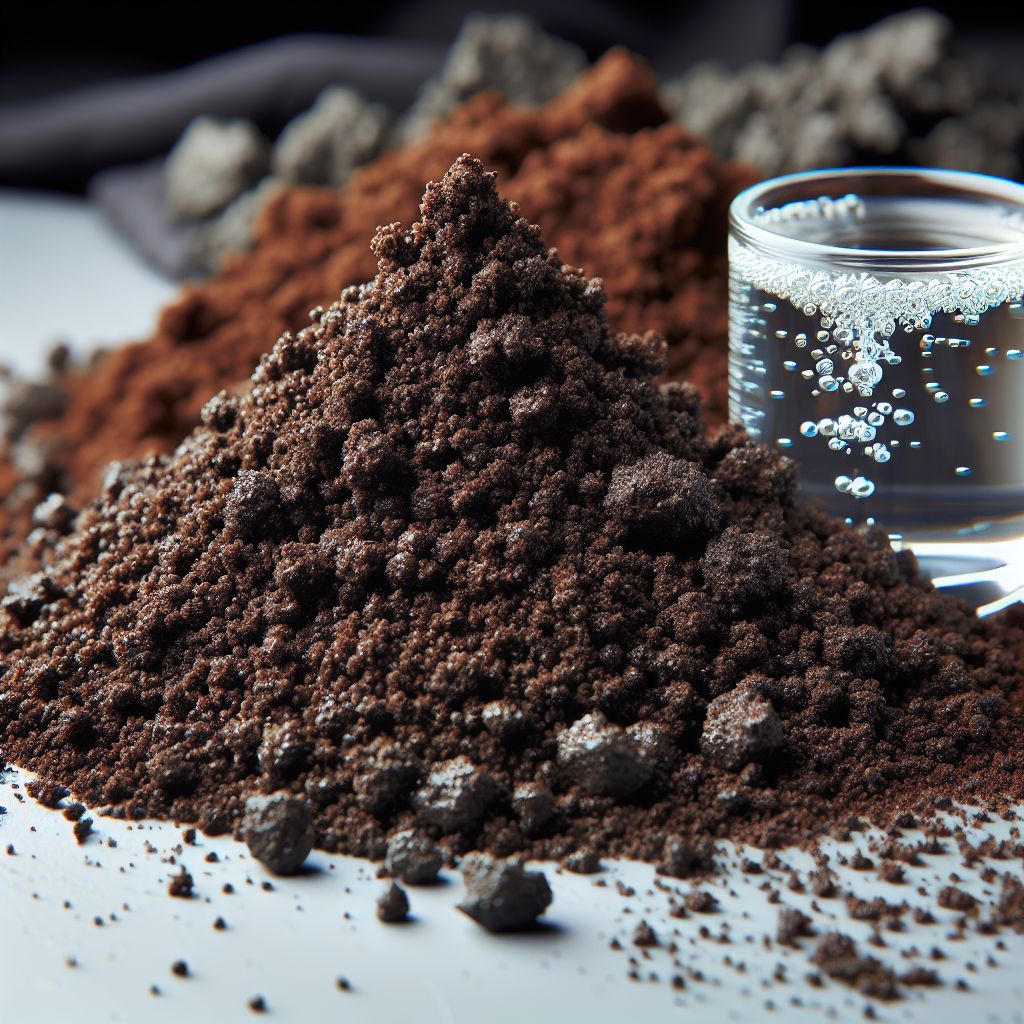
Soil: A light potting mix or a soilless medium like coconut coir works well.
-
Light: If you’re not using a sunny windowsill, you’ll need a grow light.
-
Watering can or spray bottle: Microgreens need gentle watering.
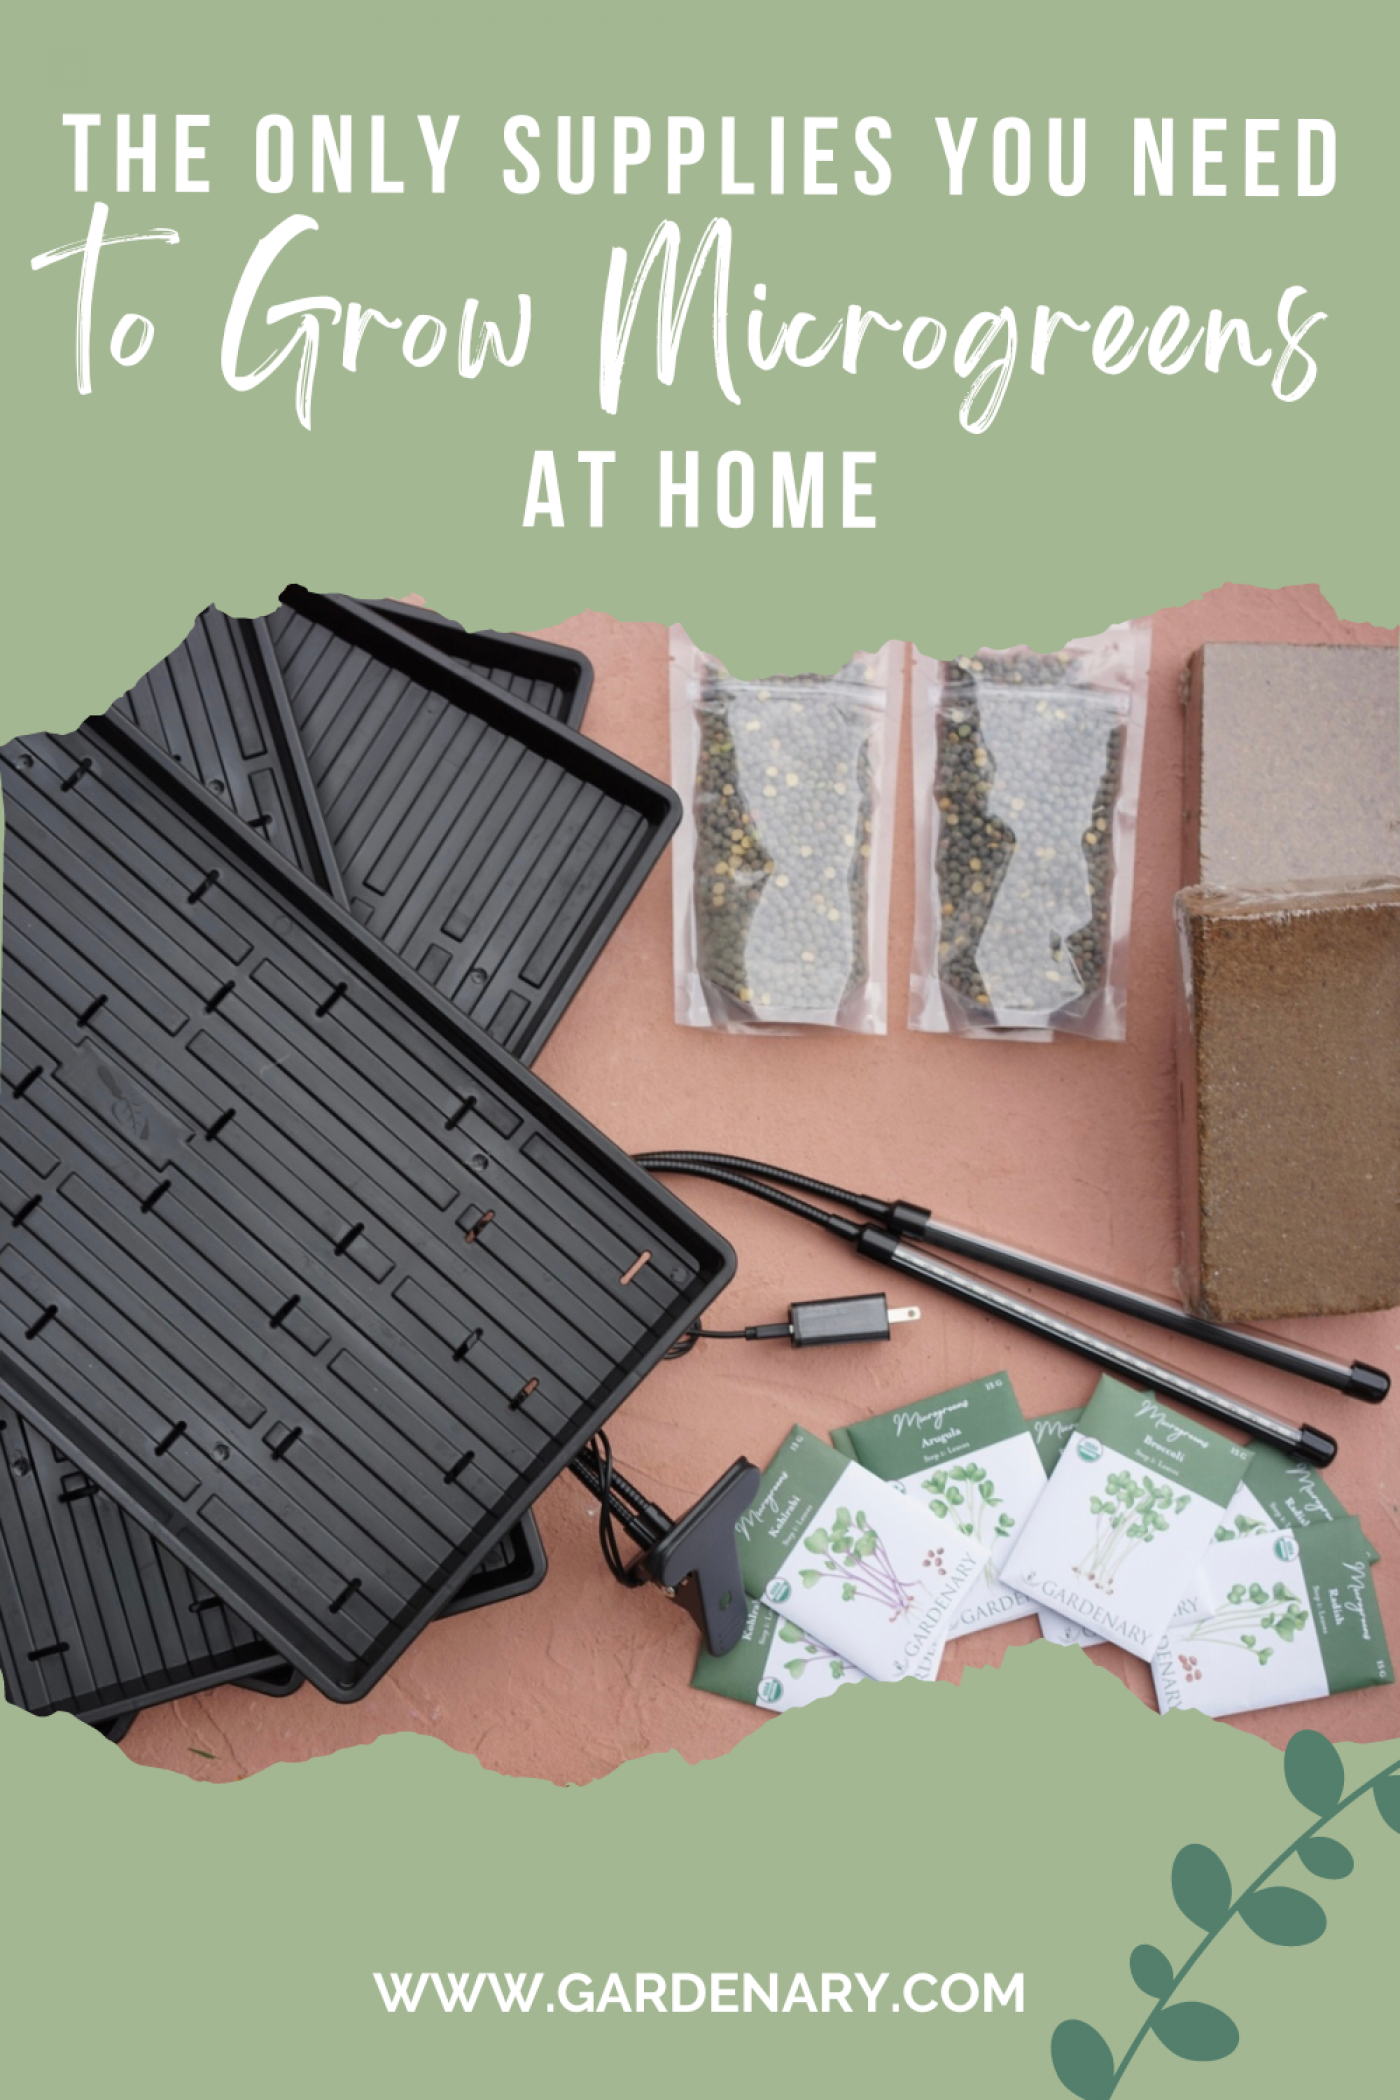
“Grow Microgreens …” from www.gardenary.com
You don’t need a lot of space or fancy equipment to get started. Most importantly, use what you have and keep it simple.
Mastering the Planting Process
With your location picked out and supplies in hand, it’s time to get your hands dirty—figuratively speaking, of course. The planting process is where your microgreen adventure really begins. It’s not complicated, but it does require some care.
Soil Preparation and Sterilization
Whether you’re using soil or a soilless medium, you want to start with a clean slate. If using soil, consider baking it in the oven at 180°F for 30 minutes to kill any pathogens. This might seem like an extra step, but it’s worth it to avoid diseases that could wipe out your crop. After cooling, moisten the soil so it’s damp but not soggy, and fill your trays to just below the rim.
Sowing Seeds for Success
Sowing your seeds is more than just sprinkling them on top of the soil. Here’s how to do it right:
First, evenly distribute the seeds across the surface of your prepared soil. You want a dense layer, but not so dense that the seeds are piling on top of each other. Once spread, press them gently into the soil without covering them, microgreen seeds need light to germinate.
Remember, each type of microgreen will have a different seed density requirement, so check the recommendations for your specific variety. Too few seeds and you won’t get the lush carpet of greens you’re after, too many and they’ll compete for resources and fail to thrive.
Watering Techniques for Tender Shoots
Watering your microgreens is a delicate balance. Use a spray bottle to mist the seeds initially, keeping the soil moist but not waterlogged. Overwatering can lead to mold or fungus, which is the last thing you want. As they grow, you can switch to a gentle watering can, but always water from the side or bottom to avoid disturbing the tender shoots.
Nutrition and Care for Peak Performance
Microgreens are like the sprinters of the plant world, they grow fast and don’t need a lot of extra food if you start with a good soil mix. However, if you notice slower growth or pale leaves, a light application of a liquid organic fertilizer can give them a boost.
Feeding Your Microgreens Right
When it comes to feeding your microgreens, less is often more. If you’re using a soilless medium, you’ll need to provide nutrients through watering. Here’s a simple feeding tip:
Use a water-soluble organic fertilizer at half the strength recommended for other plants. Apply it sparingly, and only after the first true leaves have appeared. This is when the plants can actually use the extra nutrition.
Monitoring and Managing Growth
Keep an eye on your microgreens as they grow. They should be ready to harvest in 1-3 weeks, depending on the variety. Watch for the first set of true leaves as a sign that they’re almost ready. If you notice any yellowing or signs of stress, adjust your watering or lighting accordingly.
Safeguarding Against Common Pests and Diseases
Thankfully, due to the short growing cycle and controlled environment, microgreens are less susceptible to pests and diseases. However, it’s still important to be vigilant. Keep your growing area clean, remove any dead or dying plants promptly, and ensure good air circulation around your trays. If you do encounter pests, such as aphids, use a gentle organic insecticide or introduce natural predators like ladybugs into your growing space.
Harvesting and Storage for Maximum Freshness
Harvesting your microgreens is satisfying—after all, this is what you’ve been working towards. The best time to harvest is right after the first true leaves develop, which is when they’re most flavorful and nutrient-dense.
When and How to Harvest Microgreens
To harvest, you’ll need a sharp pair of scissors or a knife. Cut the microgreens just above the soil line, and handle them gently to avoid bruising. Harvest in the morning if possible, when the plants are most hydrated and crisp.
Harvest only what you need, when you need it. Microgreens are at their best when freshly cut, so try to time your harvests with your meal plans.
But what if you’ve grown more than you can eat right away? That’s where proper storage comes in.
Storing Your Microgreens to Retain Nutrients
For short-term storage, place your harvested microgreens in a container lined with paper towels to absorb any excess moisture. Store them in the fridge, and they should stay fresh for about a week.
For longer storage, consider a vacuum sealer. This can extend their shelf life by removing air that can cause spoilage. Just be sure to handle them carefully to avoid crushing the delicate leaves.
Scaling Up Your Urban Microgreens Operation
Once you’ve mastered the basics, you might find yourself wanting to scale up your microgreen production. Whether you’re thinking about selling at local farmers’ markets or just want a steady supply for your own kitchen, there are ways to increase your yield without sacrificing quality.
Increasing Yield with Advanced Techniques
As you get more comfortable with the process, you can start experimenting with advanced techniques like:
-
Adjusting seed density for optimal growth
-
Experimenting with different growing mediums to see what works best for each variety
-
Using LED grow lights to extend the growing day and possibly improve nutrient content
These tweaks can make a big difference in your microgreen yields and quality.
Marketing Your Microgreens to the Locals
If you’re growing more microgreens than you can use, why not share the bounty? Here are a few tips for marketing your microgreens:
-
Start by offering samples to local restaurants or at farmers’ markets.
-
Create attractive packaging that highlights the nutritional benefits of microgreens.
-
Use social media to share pictures of your microgreens and get the word out.
Remember, fresh, locally grown produce is a selling point, so make sure to emphasize that your microgreens are grown right in the heart of the city.
There you have it, a comprehensive guide to starting your very own urban microgreens farm. With a little bit of space, some simple supplies, and a dash of patience, you’ll be well on your way to growing a crop that’s as nutritious as it is delicious. So roll up your sleeves and get growing, your urban farm awaits!
Storing Your Microgreens to Retain Nutrients
After you’ve successfully harvested your microgreens, it’s crucial to store them properly to maintain their freshness and nutritional value. Microgreens are delicate, and their shelf life is relatively short, so you’ll want to eat them quickly to enjoy their benefits. However, if you need to store them, there are ways to keep them fresh for a little longer.
Place your freshly harvested microgreens in a clean container, preferably one that is shallow and has a lid. Line the container with paper towels to absorb any excess moisture, which can lead to spoilage. Seal the container and place it in the refrigerator. This can keep your microgreens fresh for up to a week.
If you have a large harvest and want to keep your microgreens for longer, you can use a vacuum sealer to remove the air from around them. This method can extend their freshness for a couple of weeks. Just be careful not to crush the microgreens in the process.
Example: Sarah, an urban farmer, found that vacuum sealing her microgreens allowed her to sell them up to two weeks after harvesting, providing her with more flexibility in her market schedule.
Remember, the key to long-lasting microgreens is to handle them gently and keep them cool and dry. By following these storage tips, you can enjoy your microgreens for as long as possible.
Microgreens Growing Guide FAQ
What Are the Easiest Microgreens to Grow for Beginners?
For those just starting out, some of the easiest microgreens to grow include radishes, peas, sunflowers, and arugula. These varieties tend to germinate quickly and are more forgiving if you’re still getting the hang of watering and lighting.
Can Microgreens Be Grown in Artificial Light?
Yes, microgreens can thrive under artificial light. In fact, LED or fluorescent grow lights can provide the consistent, controlled light source that microgreens need to grow quickly and uniformly.
How Often Should Microgreens Be Watered?
Microgreens should be watered lightly but consistently. The soil should be kept moist but not waterlogged. A good rule of thumb is to water once a day or every other day, depending on the humidity and temperature of your growing environment.
Do Microgreens Need Fertilizer, and What Kind?
Microgreens generally don’t need much fertilizer because they are harvested so young. If you do choose to fertilize, use a half-strength, water-soluble organic fertilizer after the first true leaves appear. Apply sparingly to avoid over-fertilization.
What Are the Common Mistakes to Avoid When Growing Microgreens?
Common mistakes when growing microgreens include overwatering, which can lead to mold and fungus, and overcrowding seeds, which can result in poor air circulation and uneven growth. Also, avoid under-lighting, as insufficient light can lead to weak, leggy plants.
With this comprehensive guide, you’re well-equipped to start your microgreen journey in the urban jungle. Remember, the key to success is starting small, paying attention to the needs of your plants, and always being willing to learn and adjust. Urban farming is not just about producing food, it’s about connecting with nature and your community. So go ahead, sow those seeds, and watch as your urban farm flourishes!