Key Takeaways
-
Microgreens are nutrient-rich, small plants harvested just after the sprouting stage, offering a sustainable way to farm in small spaces.
-
Setting up a microgreens farm requires minimal space and can be done indoors or outdoors with essential supplies like trays, soil, and proper lighting.
-
The planting process for microgreens is straightforward: sow seeds, ensure proper watering, and provide adequate light for growth.
-
Microgreens mature quickly, making them ready for harvest within a couple of weeks, and they can be sold to restaurants, at farmers’ markets, or directly to consumers.
-
Microgreens cultivation is a symbol of sustainable agriculture, using less water and space than traditional farming and presenting a low carbon footprint.
Seeds of Success: Starting Your Microgreens Journey
Let’s dive right into the world of microgreens. These tiny greens are not just a trendy garnish—they’re packed with flavor and nutrients, and they’re revolutionizing the way we think about farming in small urban spaces. If you’re ready to embark on a journey of sustainable cultivation that’s as rewarding as it is green, microgreens are your perfect starting point.
What Are Microgreens?
Microgreens are the young seedlings of vegetables and herbs harvested just after the cotyledons (first leaves) have developed. They are usually harvested 7 to 21 days after germination, when they are 1–3 inches tall. These miniature plants are bursting with flavor and can contain up to 40 times more nutrients than their mature counterparts. Because of their size, they can be grown in a variety of settings, from a windowsill in your kitchen to a dedicated grow room.
Why Microgreens Are a Game-Changer for Urban Agriculture
Now, why should you care about microgreens? Well, they represent the pinnacle of urban agricultural innovation. They require minimal space and can thrive in controlled environments, making them a fantastic option for city dwellers. Besides that, microgreens are sustainable. They use less water and soil than traditional crops and grow quickly, meaning you can harvest and replenish your supply rapidly. It’s a win-win for you and the environment.
Prepping the Groundwork: Setting Up Your Microgreens Farm
Before you start planting, you need to lay the groundwork. This involves choosing the right location, selecting the types of microgreens you want to grow, and gathering the necessary equipment. Don’t worry, it’s less complicated than it sounds, and I’ll guide you through each step.
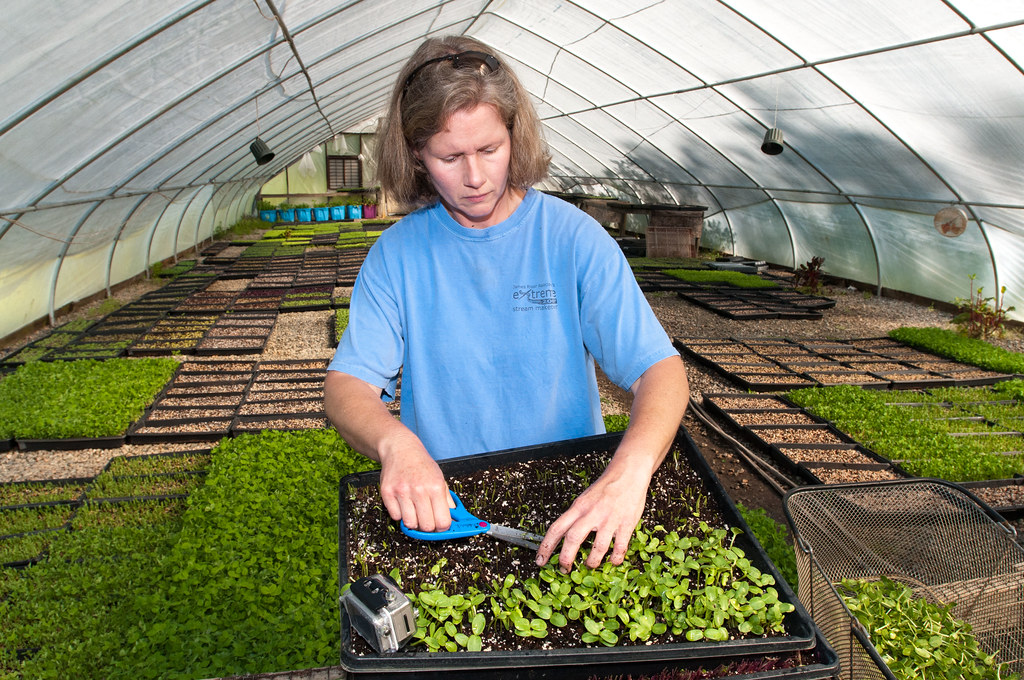
“Rebecca Evans …” from www.flickr.com
Choosing the Right Space
When it comes to microgreens, space is hardly a barrier. You can start your microgreen garden in a small corner of your home or on a balcony. The key is to find a spot that gets plenty of natural light—or be prepared to supplement with grow lights if you’re setting up indoors. Remember, your microgreens don’t need a lot of room to grow, but they do need enough light to thrive.
Selecting Your Microgreens
Choosing which microgreens to grow is like picking your favorite colors to paint with—they all bring something unique to the table. Some popular varieties include:
-
Radish: Spicy and fast-growing
-
Peas: Sweet and tender
-
Sunflower: Nutty flavor, rich in protein
-
Arugula: Peppery, great in salads
Think about what flavors you enjoy and what might sell if you’re looking to turn a profit. Most importantly, choose varieties that are known to be resilient and fast-growing, which is pretty much most microgreens.
Gathering Essential Supplies
Now for the fun part—shopping for supplies. You’ll need a comprehensive list to start your greenhouse growing journey.
-
Shallow trays or containers
-
Quality soil or a soilless growing medium
-
Seeds of your chosen microgreens
-
Grow lights (if you’re not using natural sunlight)
-
A fine misting bottle or a watering system
These supplies are the foundation of your microgreen farm. They’re easy to find and won’t break the bank. For instance, a simple setup with a couple of trays and some basic grow lights can cost as little as $100 to get started.
Proper Watering Techniques
Watering your microgreens is like threading a needle—it requires precision. Too much water and you risk mold, too little, and they won’t grow. The best method is to use a spray bottle to mist your seeds after planting, ensuring the soil is moist but not soaked. As they grow, you can switch to a gentle bottom-watering method by pouring water into the tray and allowing the roots to soak it up from below. This encourages strong root growth and helps prevent overwatering.
Understanding Light Requirements
Light is to plants what food is to us—it’s essential. Microgreens need about 12-16 hours of light per day to flourish. If you’re using natural light, a sunny windowsill is your best bet. However, not all of us are blessed with the right exposure, and that’s where grow lights come in handy. LED or fluorescent lights work well, but make sure they’re placed close enough to the plants—about 2 inches above—to prevent the microgreens from “stretching” and becoming leggy.
Now, you might wonder about the cost of running these lights. LEDs are incredibly energy-efficient, and using them for 16 hours a day can cost as little as $1 per month. That’s a small price to pay for a constant supply of fresh greens.
Here’s a quick comparison:
|
Light Source |
Pros |
Cons |
Cost |
|---|---|---|---|
|
Natural Sunlight |
Free, full spectrum |
Dependent on weather and location |
$0 |
|
LED Grow Lights |
Energy-efficient, long-lasting |
Initial setup cost |
$1/month |
|
Fluorescent Lights |
Low cost, effective |
Less energy-efficient than LEDs |
$2-3/month |
When you think about it, the choice of light can have a big impact on your operation’s sustainability and your wallet.
Growth Management: Navigating the Path to Harvest
Once you’ve got your seeds sown and your lights on, it’s time to watch the magic happen. Microgreens grow fast, but they still need a little TLC. Keep an eye on the moisture level of the soil—it should feel like a wrung-out sponge. If you see any yellow leaves, it’s a sign that your greens need more light.
It’s also important to ensure good air circulation around your microgreens. A small fan can help prevent disease and promote strong, upright growth. Plus, it’s another chance to be energy-smart—a small, energy-efficient fan uses very little electricity.
Monitoring Growth Milestones
Microgreens grow up so fast—literally. Within just a few days, you’ll see the first signs of life as the seeds germinate. This is called the “sprout” stage. After about a week, the “true leaves” will start to form, which is your cue that they’re almost ready to harvest. Keep track of these milestones to ensure you’re giving your plants what they need at each stage of growth.
For example, radish microgreens can be ready to harvest as soon as 5 days after germination, while others, like beet greens, might take a couple of weeks. Timing is everything, and knowing your plants’ growth patterns will help you plan for a continuous harvest.
Dealing with Pests and Other Challenges
Thankfully, due to their short growth cycle and indoor growing conditions, microgreens are less susceptible to pests than other crops. However, you might still encounter the occasional intruder. If you do, opt for organic pest control methods like neem oil or insecticidal soap. Remember, the goal is to keep your farming practice as sustainable and chemical-free as possible.
Other challenges might include inconsistent growth or mold. Consistency comes with practice, but mold can be mitigated by ensuring proper air circulation and avoiding overwatering. Keep your grow area clean, and you’ll be on your way to healthy, mold-free microgreens.
When and How to Harvest
Harvest time is the most exciting part of the process. When your microgreens have developed their true leaves and reached about 2 to 3 inches in height, it’s time to grab your scissors. Cut the greens just above the soil line, and give them a gentle rinse before packaging. Harvesting in the morning ensures the highest nutrient content and the best flavor.
Immediately after harvesting, your microgreens are at their peak freshness. If you’re not eating them right away, store them in a container in the fridge. They’ll stay fresh for about a week, giving you plenty of time to enjoy or sell them.
From Farm to Table: Marketing Your Microgreens
Now that you’ve got a crop of beautiful, nutritious microgreens, it’s time to think about marketing. Whether you’re looking to sell to local restaurants, at farmers’ markets, or directly to consumers, presentation and branding are key.
Restaurants love microgreens for their intense flavors and visual appeal. Approach local chefs with samples of your product, and explain how your microgreens can elevate their dishes. Farmers’ markets are another great venue, where you can connect directly with health-conscious consumers who appreciate locally-grown, sustainable produce.
Understanding Your Market
Before you start selling, get to know your audience. Are they foodies looking for the next big thing in salads? Or are they health enthusiasts seeking nutrient-dense superfoods? Understanding your market helps you tailor your messaging and find the right sales channels.
For example, if you’re targeting health enthusiasts, emphasize the nutritional benefits of your microgreens. If you’re appealing to gourmet customers, focus on the unique flavors and how they can enhance a dish.
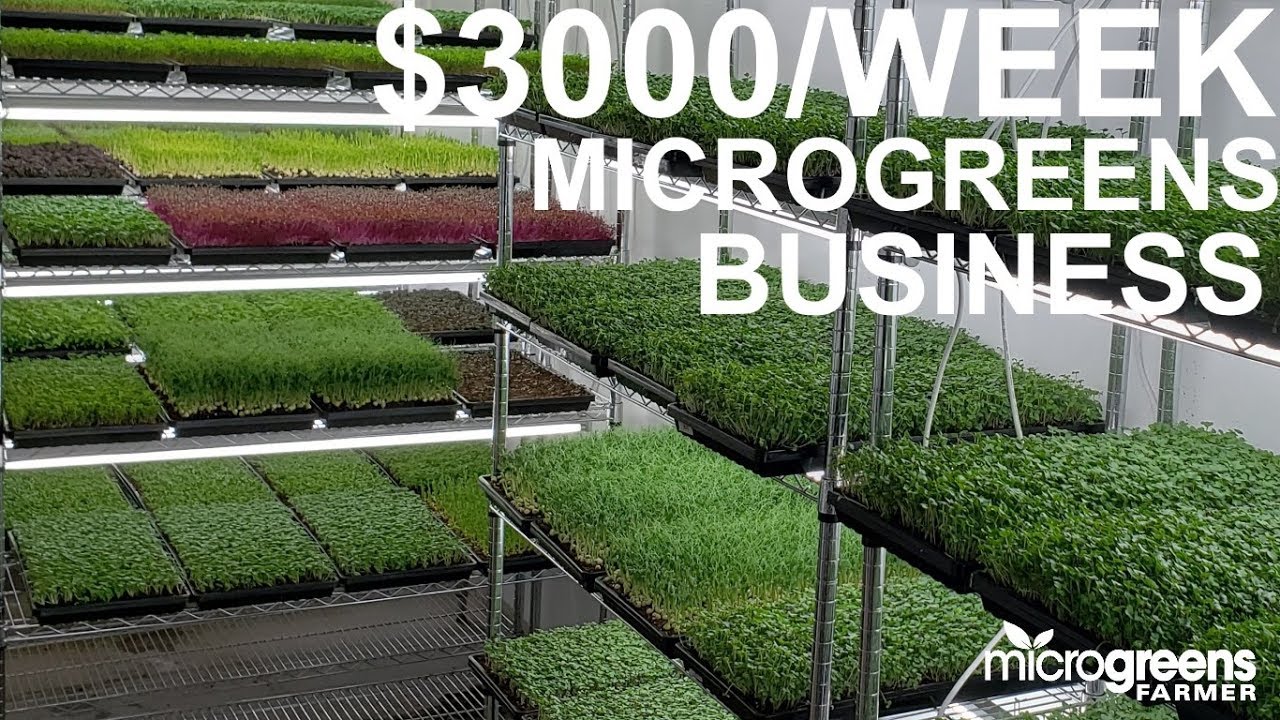
“microgreens business …” from www.youtube.com
Effective Packaging and Branding
Your microgreens’ packaging is not just about looks—it’s about maintaining freshness and conveying your brand’s message. Opt for packaging that’s both sustainable and eye-catching. Biodegradable or compostable containers are a great choice, aligning with your eco-friendly ethos. Make sure your branding tells a story, one that resonates with your customers and stands out in the market.
For instance, use labels that highlight the sustainable aspects of your product, like “grown locally with zero pesticides” or “harvested with renewable energy.” It’s these details that can make your brand memorable and your microgreens the talk of the town.
Setting Competitive Pricing
Pricing your microgreens can be a bit of a balancing act. You want to be competitive, but you also need to cover your costs and make a profit. Research what others are charging for similar products and consider your production costs. Remember, microgreens are a premium product, and customers are often willing to pay a bit more for quality and sustainability.
For instance, a small clamshell of microgreens can sell for anywhere between $3 to $6 at a farmers’ market. If you’re selling directly to restaurants, you might offer larger quantities at a wholesale price. Just ensure you’re transparent about your costs and the value you’re providing.
The Bigger Picture: Microgreens and Sustainable Agriculture
Microgreens are more than just a profitable crop, they’re a symbol of sustainable agriculture. By growing microgreens, you’re participating in a farming movement that prioritizes the health of the planet as much as the health of the consumer.
Compared to traditional agriculture, microgreens require a fraction of the water and land. This means you can produce a significant amount of food in a small space without straining natural resources. And because they’re often grown indoors, you can control the environment to ensure efficient use of energy and minimize waste.
It’s this kind of innovation in agriculture that’s paving the way for a greener future. By choosing to grow microgreens, you’re not just harvesting plants—you’re planting the seeds for a more sustainable world.
Comparing with Traditional Farming Techniques
When we compare microgreens to traditional farming, it’s like comparing a sleek electric car to a gas-guzzling truck. Traditional farming requires vast amounts of land, heavy machinery, and large quantities of water and fertilizers. In contrast, microgreens can be grown in a small, controlled environment, with a fraction of the resources. This isn’t to say that traditional farming doesn’t have its place, but microgreens offer a more sustainable alternative, especially in urban settings where space and resources are limited.
-
Land Use: Traditional farming can require acres of space, while microgreens can be grown in square feet.
-
Water Usage: Microgreens use significantly less water, thanks to their small size and the ability to recycle water in hydroponic systems.
-
Chemical Use: Traditional farms often rely on pesticides and herbicides, whereas microgreens can be grown organically without these chemicals.
Therefore, for those looking to make a positive environmental impact, microgreens cultivation is a clear choice. It’s not just about growing food, it’s about growing sustainably.
The Environmental Impact of Microgreens Farming
The environmental impact of microgreens farming is minimal, especially when compared to traditional agriculture. For one, the reduced need for water conserves a precious resource and reduces the strain on local water systems. Additionally, because microgreens can be grown vertically, they maximize space and can significantly increase the yield per square foot. This means more food can be produced in smaller, urban areas, reducing the need for transportation and the associated carbon emissions.
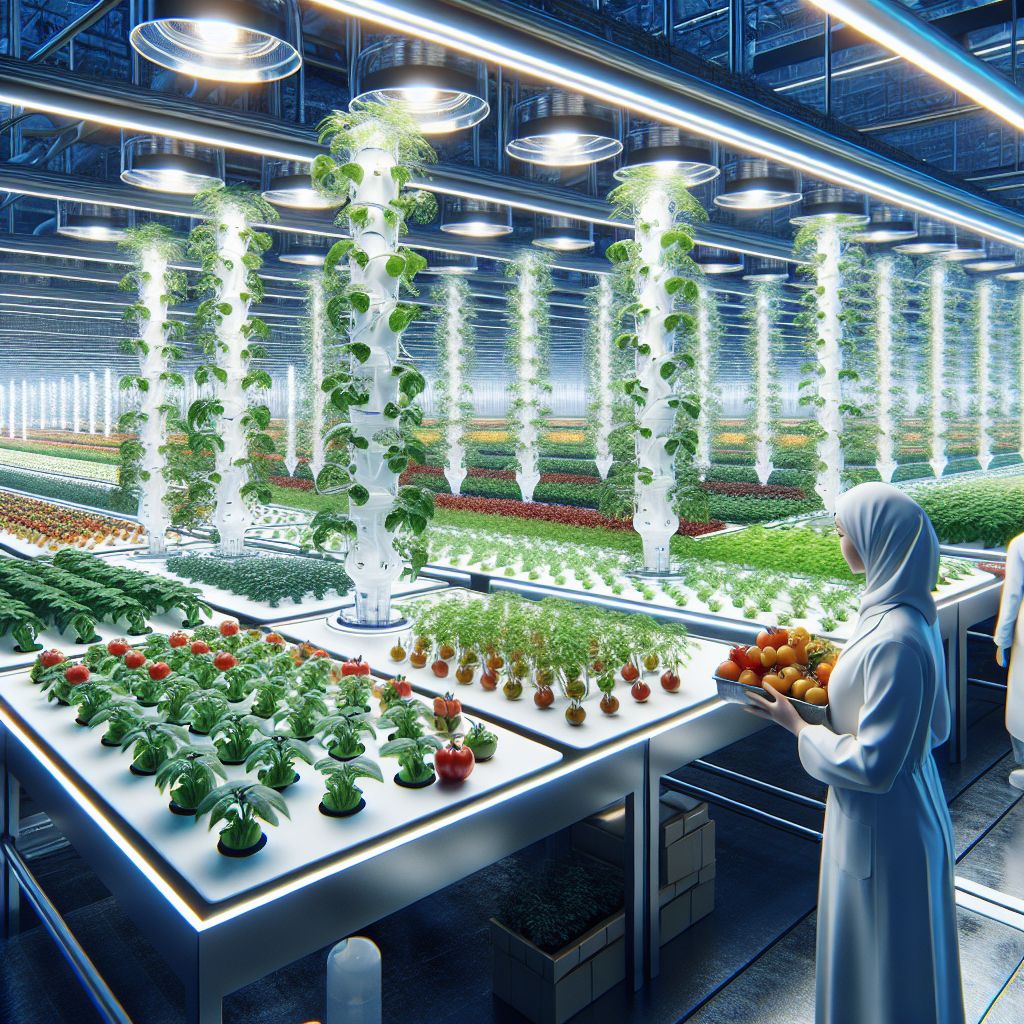
Future Trends in Microgreens Cultivation
Looking ahead, the future of microgreens cultivation is bright and green. Innovations in hydroponics and aquaponics are making soilless farming more accessible and efficient. LED lighting technology is becoming more advanced, providing optimal light spectrums for plant growth while using less energy. And as consumer demand for local, sustainable produce continues to grow, so too will the opportunities for urban farmers specializing in microgreens. It’s an exciting time to be a part of this green revolution.
Frequently Asked Questions (FAQ)
As we wrap up, let’s address some common questions about microgreens cultivation.
Do Microgreens Require Fertilizers?
Microgreens generally do not require fertilizers if grown in quality soil that provides enough nutrients for their short growth cycle. However, if you’re growing them hydroponically or in a soilless medium, you might need to add a mild, organic nutrient solution to the water to ensure they get everything they need to grow strong and healthy.
Can Microgreens Be Grown Hydroponically?
Yes, microgreens can be grown hydroponically, which is a method of growing plants without soil by using mineral nutrient solutions in a water solvent. This method can be even more water-efficient and can result in faster growth rates since the plants have direct access to nutrients.
What Are the Most Profitable Microgreens to Grow?
The most profitable microgreens to grow are often those with the quickest turnaround time and highest demand. Varieties like radish, pea shoots, and sunflower are popular for their taste and nutritional value. However, profitability also depends on your market, so it’s essential to research and connect with potential buyers to understand their preferences.
How Often Should Microgreens Be Watered?
Microgreens should be watered lightly once or twice a day to keep the soil consistently moist. Bottom watering is recommended to prevent mold growth and to encourage strong root systems. Always adjust your watering schedule based on the humidity and temperature of your growing environment.
Are Microgreens Safe to Grow and Eat at Home?
Absolutely! Microgreens are safe and healthy to grow and eat at home. They are an excellent way to add fresh greens to your diet year-round. Just ensure you’re using clean water and trays, and avoid using any non-food-safe materials in your setup. With proper care, you can enjoy a variety of microgreens right from your own mini-farm.
Option A. There is no paragraph provided in Step 1 to modify with a link. Please provide the paragraph content for further assistance.