Key Takeaways
- Raspberry Pi and Arduino can revolutionize indoor farming with automation and efficiency.
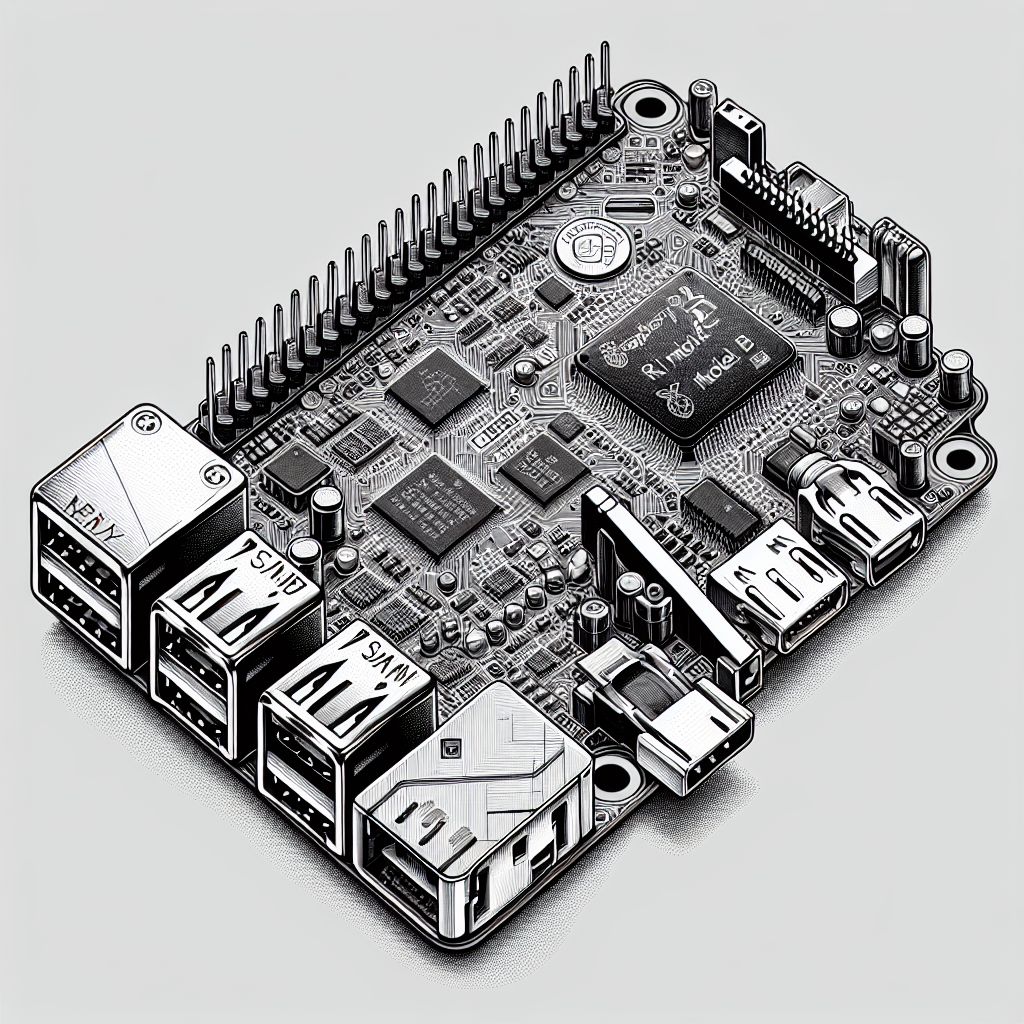
- Choosing the right Raspberry Pi model depends on your project’s complexity and budget.
- Environmental sensors are crucial for monitoring conditions and ensuring plant health.
- Simple coding can automate crop care and irrigation, saving time and resources.
- Smart agriculture is accessible to beginners and can be cost-effective with the right setup.
Transforming Farming with Tech
In the world of indoor farming, embracing technology isn’t just a luxury; it’s becoming a necessity. With the help of Raspberry Pi and Arduino, we’re not just farming smarter; we’re redefining what it means to grow food. These tiny computers and microcontrollers might seem more at home in a robotics lab than a greenhouse, but they’re about to become your best allies in the quest for high yields and sustainable practices.
Let’s dive into how these technologies can transform a small indoor space into a highly productive farm. We’ll start from the ground up, and I’ll guide you through each step. Whether you’re a seasoned farmer looking to innovate or a curious newcomer, you’re in the right place.
Basics of Using Raspberry Pi & Arduino for Indoor Farming
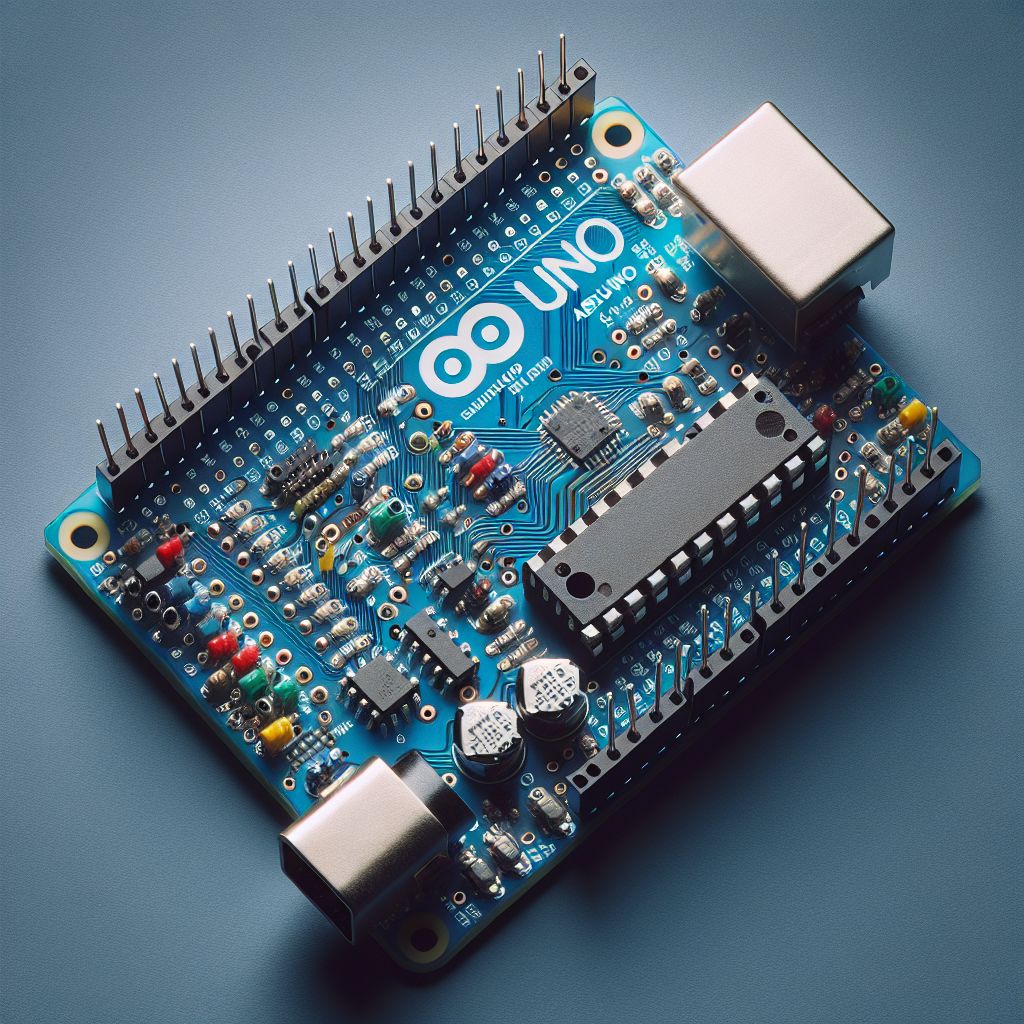
Before we get our hands dirty, let’s cover the basics. Raspberry Pi is a series of small single-board computers, while Arduino refers to microcontrollers that are fantastic for handling repetitive tasks. Think of Raspberry Pi as the brains of the operation, capable of complex processing, and Arduino as the muscle, controlling hardware like sensors and valves.
Both are open-source, which means there’s a vast community of farmers and tech enthusiasts out there, constantly sharing their designs and code. This collaborative spirit is what makes smart agriculture with Raspberry Pi and Arduino not just innovative, but also incredibly accessible.
Starting Seeds with Raspberry Pi
The journey of a thousand crops begins with a single seed—and the right conditions. Temperature, humidity, light levels; all these need to be just right. With Raspberry Pi, you can monitor and adjust these parameters automatically, ensuring your seeds have the best start in life.
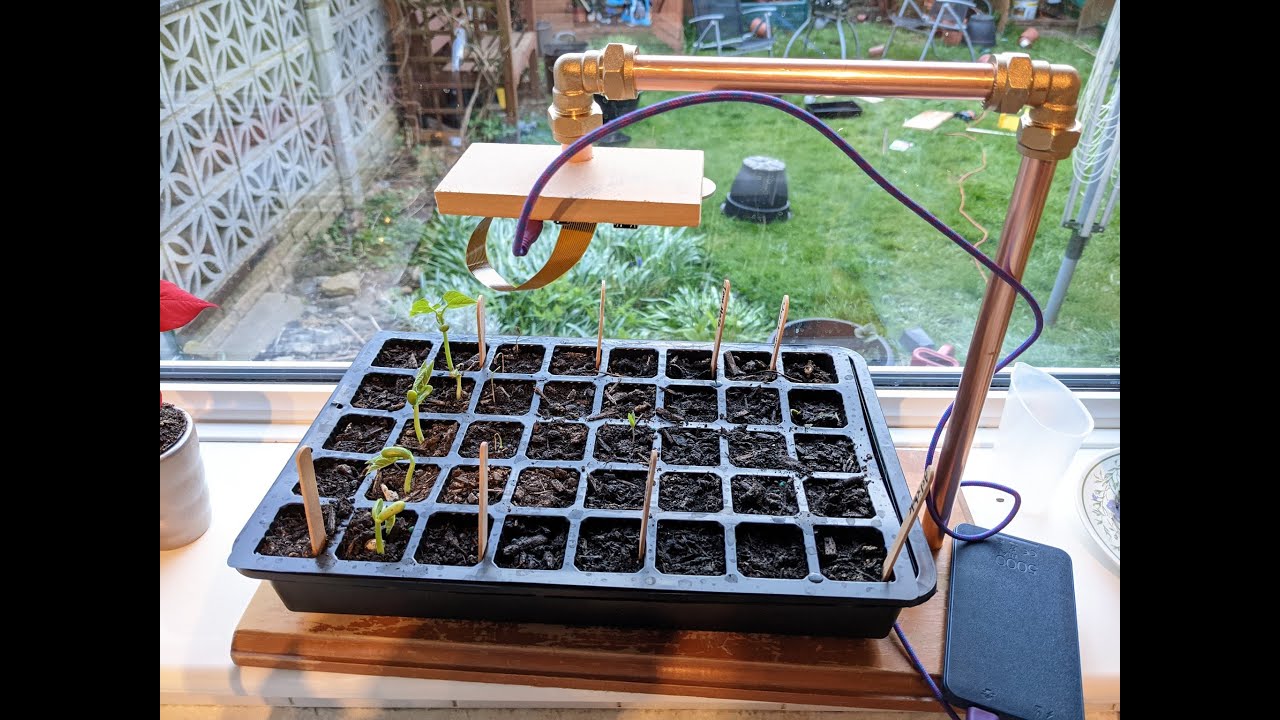
“seeds with the Raspberry Pi …” from www.youtube.com
Choosing the Right Raspberry Pi Model
Your choice of Raspberry Pi model can make or break your project. For an in-depth guide, check out our article on Arduino greenhouse automation, which can help you understand the capabilities needed for smart agriculture.
- Processing Power: If you’re running multiple sensors and cameras, opt for a Raspberry Pi 4.
- Connectivity: Need Wi-Fi or Bluetooth? The Raspberry Pi 3 and 4 have you covered.
- Budget: The Raspberry Pi Zero is a wallet-friendly option for simpler projects.
Most importantly, match the model to your project’s needs. There’s no point in wielding a sledgehammer to crack a nut, and the same goes for tech.
Setting Up Environmental Sensors
Your seedlings are like Goldilocks; everything needs to be just right. Here’s how to set up environmental sensors with your Raspberry Pi:
- Start with a temperature and humidity sensor, like the DHT22.
- Connect it to the GPIO pins on your Raspberry Pi.
- Use a simple Python script to read the sensor data (don’t worry, there’s plenty of code examples online).
With these sensors in place, you can create a dashboard to monitor your farm’s vital stats in real-time. It’s like having a window into the needs of your plants, and it’s invaluable for making quick, informed decisions.
Coding for Crop Care: Basic Scripts
Don’t let the word ‘coding’ scare you off. You don’t need to be a programming wizard to automate your farm. Start with basic scripts to read sensor data and control devices like fans or grow lights. There are countless tutorials online that can guide you through this process, step by step.
For example, to turn on a fan when the temperature exceeds a certain level, you might use a script like this:
if temperature > 25: turn_on(fan)It’s simple, effective, and can make all the difference for your crops.
And that’s just the beginning. With a little creativity and some greenhouse automation and trial and error, you’ll be writing scripts that not only react to changes but anticipate them, keeping your plants happy around the clock.
Automating Watering: Connecting Arduino to Valves
Now let’s talk irrigation. Overwatering and underwatering are the twin banes of any farmer’s existence. But with an Arduino at your side, you can kiss those problems goodbye. Connecting Arduino to solenoid valves allows you to control water flow precisely, delivering the perfect amount of moisture to your plants every time.
Moisture Sensing and Water Efficiency
Efficiency is the name of the game in smart agriculture. By using moisture sensors in your soil, the Arduino can detect when your plants are thirsty. This data triggers the valves to open, and not a drop more than necessary is used. It’s a win-win: your plants stay hydrated, and you conserve water.
Here’s how to set it up:
- Insert moisture sensors into the soil near your plants’ roots.
- Connect these sensors to your Arduino.
- Write a simple code that reads the moisture level and opens the valve when the soil is dry.
You’ll be amazed at how much water you save, and your plants will never suffer from human forgetfulness again.
Monitoring Growth: Cameras and Pi
As your plants grow, keeping a close eye on them is crucial. This is where Raspberry Pi and cameras come into play. With the right setup, you can have a 24/7 view of your crops, allowing you to spot issues before they become problems.
Selecting and Setting Up Pi Cameras
Choosing the right camera for your Raspberry Pi is essential. You want one that can capture clear images and is compatible with your Pi model. Once you’ve got your camera, setting it up is a breeze. Mount it above your plants, connect it to your Pi, and you’re good to go.
With the camera in place, you can monitor your plants’ growth, check for signs of disease or pests, and make sure they’re getting enough light. It’s like having a window into their world, even when you’re not there.
Timelapse and Analysis: Watching Your Crops Grow
One of the coolest things you can do with a camera and a Raspberry Pi is create a timelapse of your plants growing. Not only is this incredibly satisfying to watch, but it also gives you valuable insights into the health and progress of your crops.
To get started with your Arduino greenhouse automation system, you’ll need:
- A Raspberry Pi camera.
- A script to take regular photos (you can find many online).
- Software to stitch these photos into a timelapse video.
Before you know it, you’ll have a visual record of your plants’ journey from seed to harvest. And the best part? You can share this with the world, showcasing the power of smart agriculture.
When Tech Meets Dirt: Real-world Applications
Theory is all well and good, but let’s ground this in reality. Across the globe, farmers are using Raspberry Pi and Arduino to make their operations more efficient and productive. Let’s look at a couple of real-world examples.
Case Study: Small Space, Big Yield
Take Sarah, for example. She turned her small urban apartment’s balcony into a high-tech garden. Using a Raspberry Pi, she automated lighting, temperature control, and watering. With a few lines of code and some DIY spirit, she transformed a few square feet into a salad factory.
Her setup includes:
- Raspberry Pi 4 for control and monitoring.
- Environmental sensors for real-time data.
- Arduino-controlled water pumps for precise irrigation.
Sarah’s story is just one example of how accessible and impactful smart agriculture technologies can be, even in the smallest of spaces.
Community Impact: Urban Farming Breakthroughs
Then there’s the community garden in Detroit that’s feeding an entire neighborhood. They’ve installed a network of Raspberry Pis and Arduinos to manage everything from compost temperature to plant nutrition. It’s not just about growing food; it’s about growing communities. And it’s all thanks to smart agriculture.
Their system features smart agriculture techniques:
- Multiple Raspberry Pi units for different zones in the garden.
- Arduino-driven soil analysis tools for optimal fertilization.
- Community-designed software to share data and tips.
These are real people making a real difference with technology. And if they can do it, so can you.
Gearing Up: Tools and Equipment List
Ready to get started? Here’s a shopping list to kick off your smart agriculture journey:
Raspberry Pi & Arduino Shopping Guide
For the Raspberry Pi enthusiast:
- Raspberry Pi 4 Model B (for robust projects)

- Raspberry Pi Zero W (for simpler, budget-friendly setups)
- SD card with Raspbian OS installed
- Power supply and cables
- Temperature and humidity sensors like the DHT22
- Raspberry Pi camera module for growth monitoring
And for the Arduino aficionado:
- Arduino UNO (a versatile board for beginners and experts alike)
- Solenoid valves for water control
- Soil moisture sensors to monitor water needs
- Jumper wires and breadboards for connections
- USB cable to program the Arduino
With these tools in hand, you’re well on your way to building your own smart farming setup. Remember, the journey of a thousand crops begins with a single Raspberry Pi—or Arduino!
Raspberry Pi & Arduino Shopping Guide
Before you dive into the exciting world of smart agriculture, you’ll need to gear up with the right equipment. I’ll walk you through the essentials to get your indoor farm tech-ready.
Whether you’re a tech-savvy farmer or just starting out, you’ll find that both Raspberry Pi and Arduino are user-friendly and offer a wealth of online resources to help you on your journey. The community is supportive, and there are countless projects to learn from.
- Raspberry Pi 4 Model B or Raspberry Pi Zero W, depending on your project’s complexity and budget
- Micro SD card with the latest Raspbian OS
- Compatible power supply and necessary cables
- Environmental sensors, like the DHT22 for temperature and humidity
- Raspberry Pi camera module for plant monitoring
- Arduino UNO for a robust and versatile microcontroller experience
- Solenoid valves and moisture sensors for a precise irrigation system
- Breadboards, jumper wires, and USB cables for connections and programming
Gathering these components is your first step towards building a smart, responsive indoor farm that can potentially change the way you approach agriculture. Keep in mind that while initial costs may seem high, the efficiency and yield improvements will more than make up for the investment.
From Seed to Sale: Additional Must-Haves
Beyond the basics of Raspberry Pi and Arduino, there are a few additional tools that will take your indoor farming to the next level.
These include advanced sensors for light intensity and soil pH, automated nutrient delivery systems, and data logging software to track your farm’s performance over time. With these in your toolkit, you’ll be able to optimize every aspect of your growing environment.
Frequently Asked Questions on Raspberry Pi & Arduino Indoor Farming
When venturing into the realm of smart agriculture, it’s natural to have questions. Here are answers to some of the most common queries I encounter.
Can Raspberry Pi and Arduino Save Water in Farming?
Absolutely. By using moisture sensors and automated irrigation systems, Raspberry Pi and Arduino can ensure that plants receive the exact amount of water they need, reducing waste significantly. This not only conserves water but also prevents overwatering, which can lead to plant disease.
It’s a smarter approach to water management that benefits both the environment and your pocketbook. Over time, the savings on water can be substantial, making this a wise investment for any farmer looking to optimize resource usage.
Is Smart Agriculture Difficult for Beginners?
Smart agriculture might sound intimidating, but it’s surprisingly accessible. The key is to start small and expand as you gain confidence. Both Raspberry Pi and Arduino are beginner-friendly, with vast online communities and tutorials to help you get started.
The trick is to not be afraid of making mistakes. Every error is a learning opportunity, and with each challenge you overcome, you’ll be one step closer to mastering smart agriculture.
How Cost-Effective is Raspberry Pi and Arduino Farming?
When you factor in the increased efficiency, reduced waste, and potentially higher yields, Raspberry Pi and Arduino farming can be very cost-effective. While there’s an upfront cost for the equipment, the long-term savings and benefits can outweigh these initial expenses.
Moreover, the scalability of these systems means you can start with a modest investment and expand your setup as your farm grows, ensuring you’re always getting the best return on your investment.
What Types of Crops Benefit Most from Smart Agriculture?
Smart agriculture techniques can benefit a wide range of crops, particularly those that are sensitive to environmental conditions. Leafy greens, herbs, and microgreens, which are popular in indoor farming setups, thrive under the controlled conditions that Raspberry Pi and Arduino can provide.
However, the beauty of smart agriculture is its adaptability. With the right sensors and controls in place, virtually any crop can see improved growth and health.
Where Can I Learn More About Coding for Smart Farming?
There’s a wealth of information available online to help you learn coding for smart farming. Websites like Raspberry Pi’s official site, Arduino’s project hub, and forums like Stack Overflow are great places to start. You can also find online courses on platforms like Coursera and Udemy that cater specifically to Raspberry Pi and Arduino enthusiasts.
For example, a beginner’s guide to setting up a Raspberry Pi-controlled irrigation system might start with:
import RPi.GPIO as GPIO
import time

GPIO.setmode(GPIO.BCM)
GPIO.setup(18, GPIO.OUT)

while True:
    GPIO.output(18, True)
    time.sleep(1)
    GPIO.output(18, False)
    time.sleep(1)
This simple script will turn a connected relay (and thus a water pump) on and off, simulating an irrigation cycle.
By tapping into these resources, you’ll soon be writing your own scripts and contributing to the smart agriculture community.
Remember, the goal here isn’t just to grow plants; it’s to cultivate a new way of thinking about farming. With the power of Raspberry Pi and Arduino in your hands, you’re not just a farmer—you’re a pioneer on the cutting edge of agricultural technology.
Embrace the potential of smart agriculture, and join the ranks of farmers who are feeding the world more efficiently and sustainably than ever before. The future of farming is in your hands, and it’s looking brighter than ever.